If you have yet to connect Ravenna to your Slack Workpsace, see our Getting Started guide for instructions on how to do so.
Channel Types
Ravenna has two channel types: Request Channels and Triage Channels. Request channels are where tickets can be created and Triage channels are where tickets can be triaged.
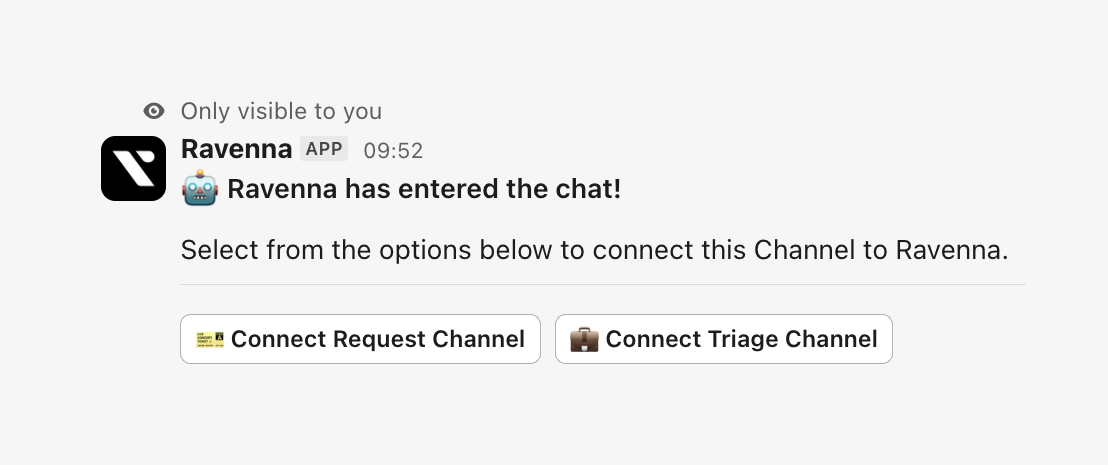
When you add Ravenna to a channel, you will see this prompt
Request Channels
Request channels are where the magic happens - they’re the Slack channels where tickets can be created. You can use any channel (public or private) as a Request channel. To connect one, simply enter/invite @ravenna in the channel you want to use and this will add Ravenna to your channel. Ravenna will then prompt you to setup this channel as a Request channel and connect it to a Queue.
Click connect, pick your Workspace, and you’re all set! Now you can create tickets directly from this channel.
Check out our Setting up your first Queue guide for more information on how to connect channels.
Triage Channel
Need a dedicated space for ticket triage? Ravenna’s got you covered. Each workspace can have one Triage channel - typically a private channel where admins can manage tickets directly in Slack. Every new ticket in your workspace will automatically appear here. To set up your Triage channel, head toSettings > Workspace > Slack. Look for the Connect button in the Triage Channel card and select your preferred Slack channel.
Messages in ticket threads within the Triage channel will sync with the original Request or DM channel threads, keeping everything in sync.
Check out our Setting up a Triage Channel guide for more information on how to connect channels.
Create a ticket
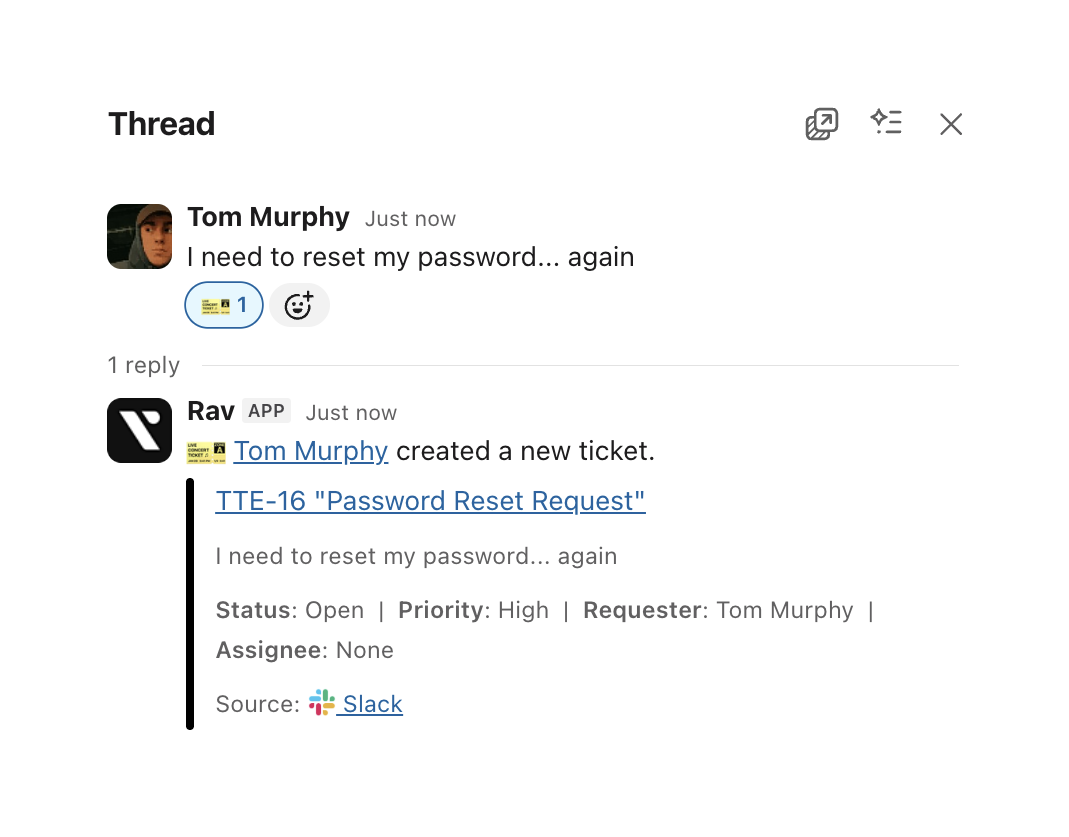
Let’s create your first ticket! Send a message in your connected channel and add the 🎫 emoji. Ravenna will respond with a Ticket Mirror to confirm your ticket was created.
- All messages in the thread sync to the ticket in Ravenna
- All messages in the ticket sync back to the thread. It’s like having a two-way mirror for your conversations!
Agent Workspace
Want to chat directly with Ravenna? The Slack Assistant feature lets your team interact with Ravenna through DMs or the Slack Assistant panel. To enable this feature, you’ll need to designate one of your Ravenna workspaces as the “Agent Workspace.” This tells Ravenna which workspace to use for knowledge retrieval and DM ticket creation. By default, the Agent workspace is set to the one you used when connecting your Slack App. You can change this anytime by visiting Settings > Integrations and updating the “Agent Workspace” setting.This feature is currently limited to one workspace per Slack workspace. Meaning, you must select one Ravenna workspace to act as the agent within the Ravenna app when users are chatting back and forth.
User synchronization
Ravenna uses intelligent user synchronization to manage which Slack users are added to your workspace. Only users who actively interact with Ravenna will be synchronized.How user sync works
Users are synchronized to Ravenna when they:- Create tickets by adding the 🎫 emoji to messages
- Add ticket-creating reactions (like custom emojis configured for ticket creation)
- Open the Ravenna app home in Slack
- Use Ravenna slash commands
- Interact with Ravenna through modals or forms
- Send regular messages in channels
- Join or leave channels
- Add non-Ravenna reactions to messages
- Browse channels without interacting with Ravenna
Benefits of this approach
- Privacy focused: Only users who choose to interact with Ravenna are added to your workspace
- Clean user management: Avoids importing entire Slack workspaces into Ravenna
- Compliance friendly: Ensures only active users have access to your Ravenna workspace
Sync Guest Users
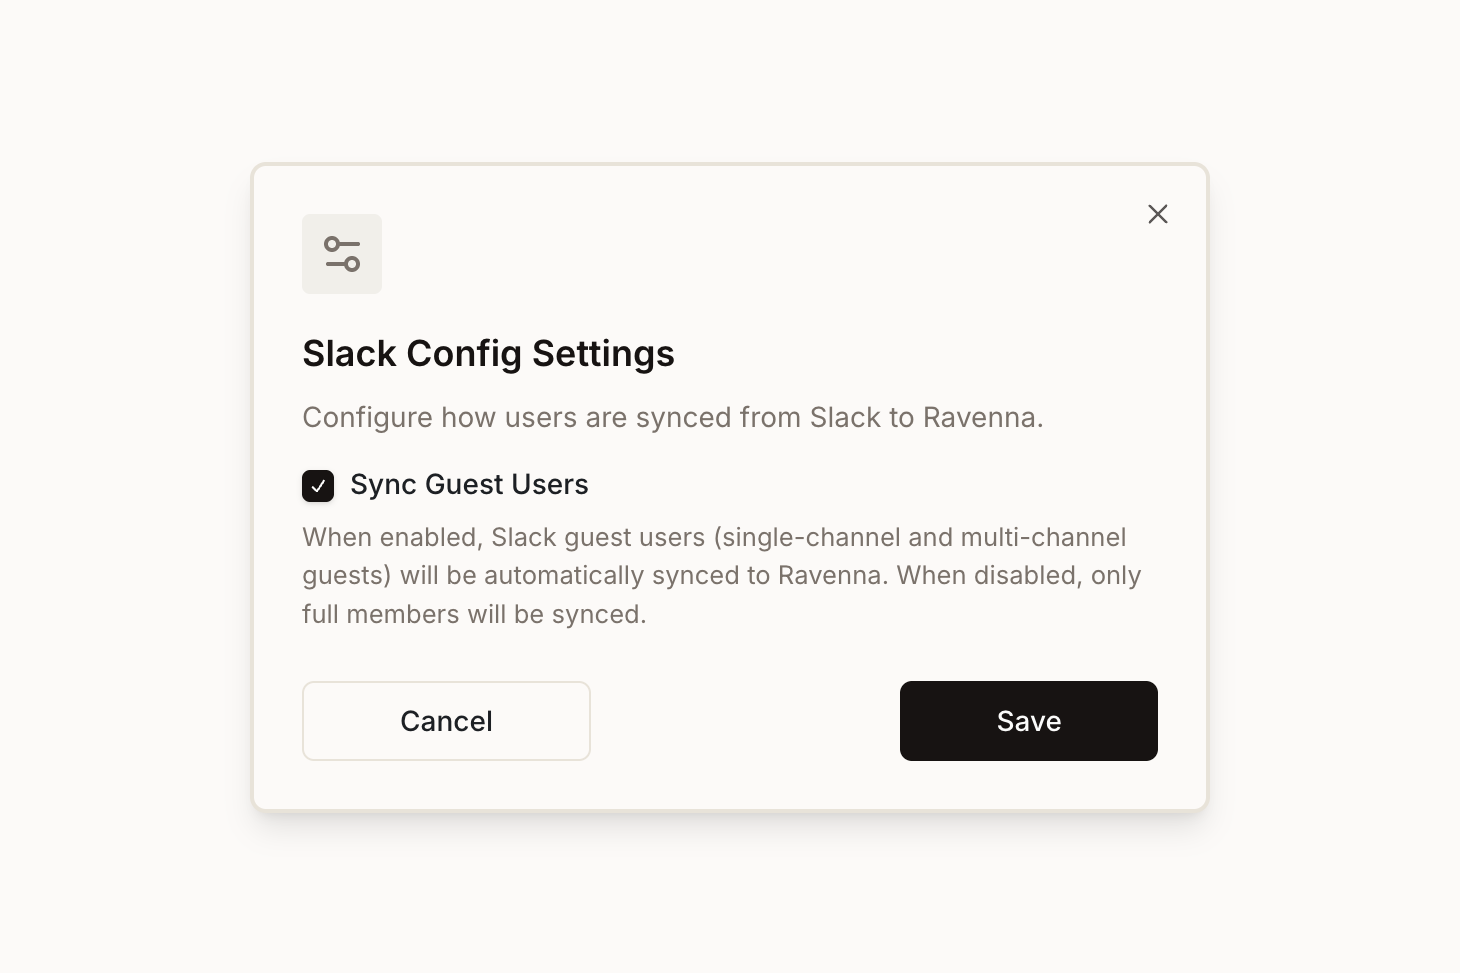
By default, Ravenna only syncs full Slack workspace members. You can optionally enable guest user synchronization to include:- Single-channel guests
- Multi-channel guests


Guest user synchronization respects the same interaction-based sync rules. Guest users must actively interact with Ravenna (create tickets, use commands, etc.) to be synchronized.
1
Navigate to Settings > Integrations
2
Find your connected Slack app
3
Click the settings icon next to your Slack connection
4
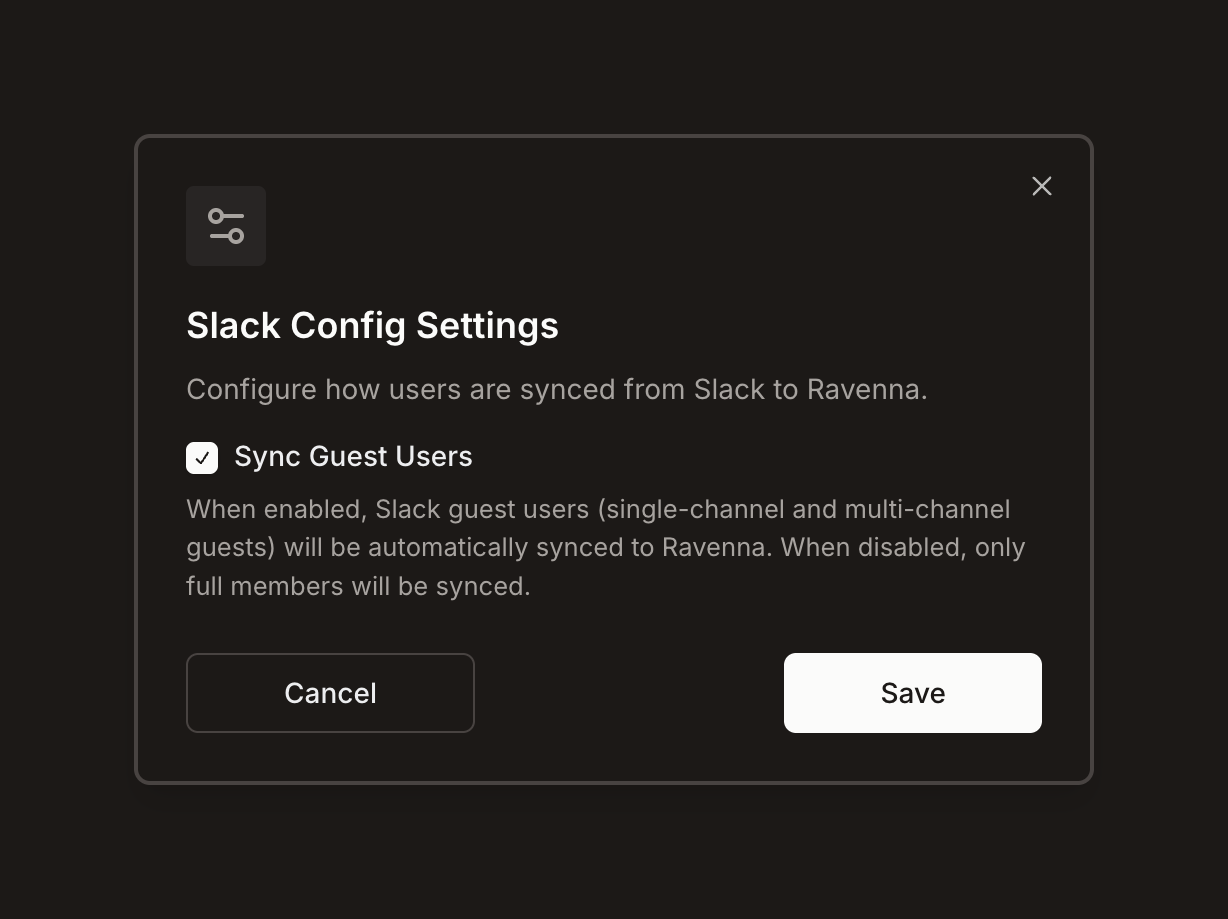
Update your preferences in the configuration modal

