

Not sure which authentication method to use? See how the two methods compare and why Ravenna recommends Private Key.
Already connected via Private Key? You can switch a live Okta integration to Client Secret without disconnecting. Go to Settings > Integrations, open the ⋯ menu on the Okta integration, and choose Update Credentials. Pick Client Secret and enter the new values. The integration keeps the same ID, and no cleanup or resync is triggered.
What Ravenna can access
Ravenna publishes the OIN integration and defines its API scopes. You can’t add or remove scopes on the app, so there is nothing to configure: installing it grants the set below. If you need control over the granted scopes, for example to unlock additional Foundry actions, use the Private Key method instead.
Ravenna uses the
okta.accessRequests.* scopes only when OIG sync is turned on. The app also sets up the Access Requests Administrator role that OIG sync needs, so there’s nothing extra to assign.
Prerequisites
Before you begin, ensure you have:- Okta Super Admin or Application Administrator access
- Your Okta organization domain
- Permissions to create API Service Integrations
Setup guide
Install integration from Okta API Integration Store
1
Open API Service Integrations
In the Okta Admin Console, go to Applications and Resources > API Service Integrations and click Add Integration.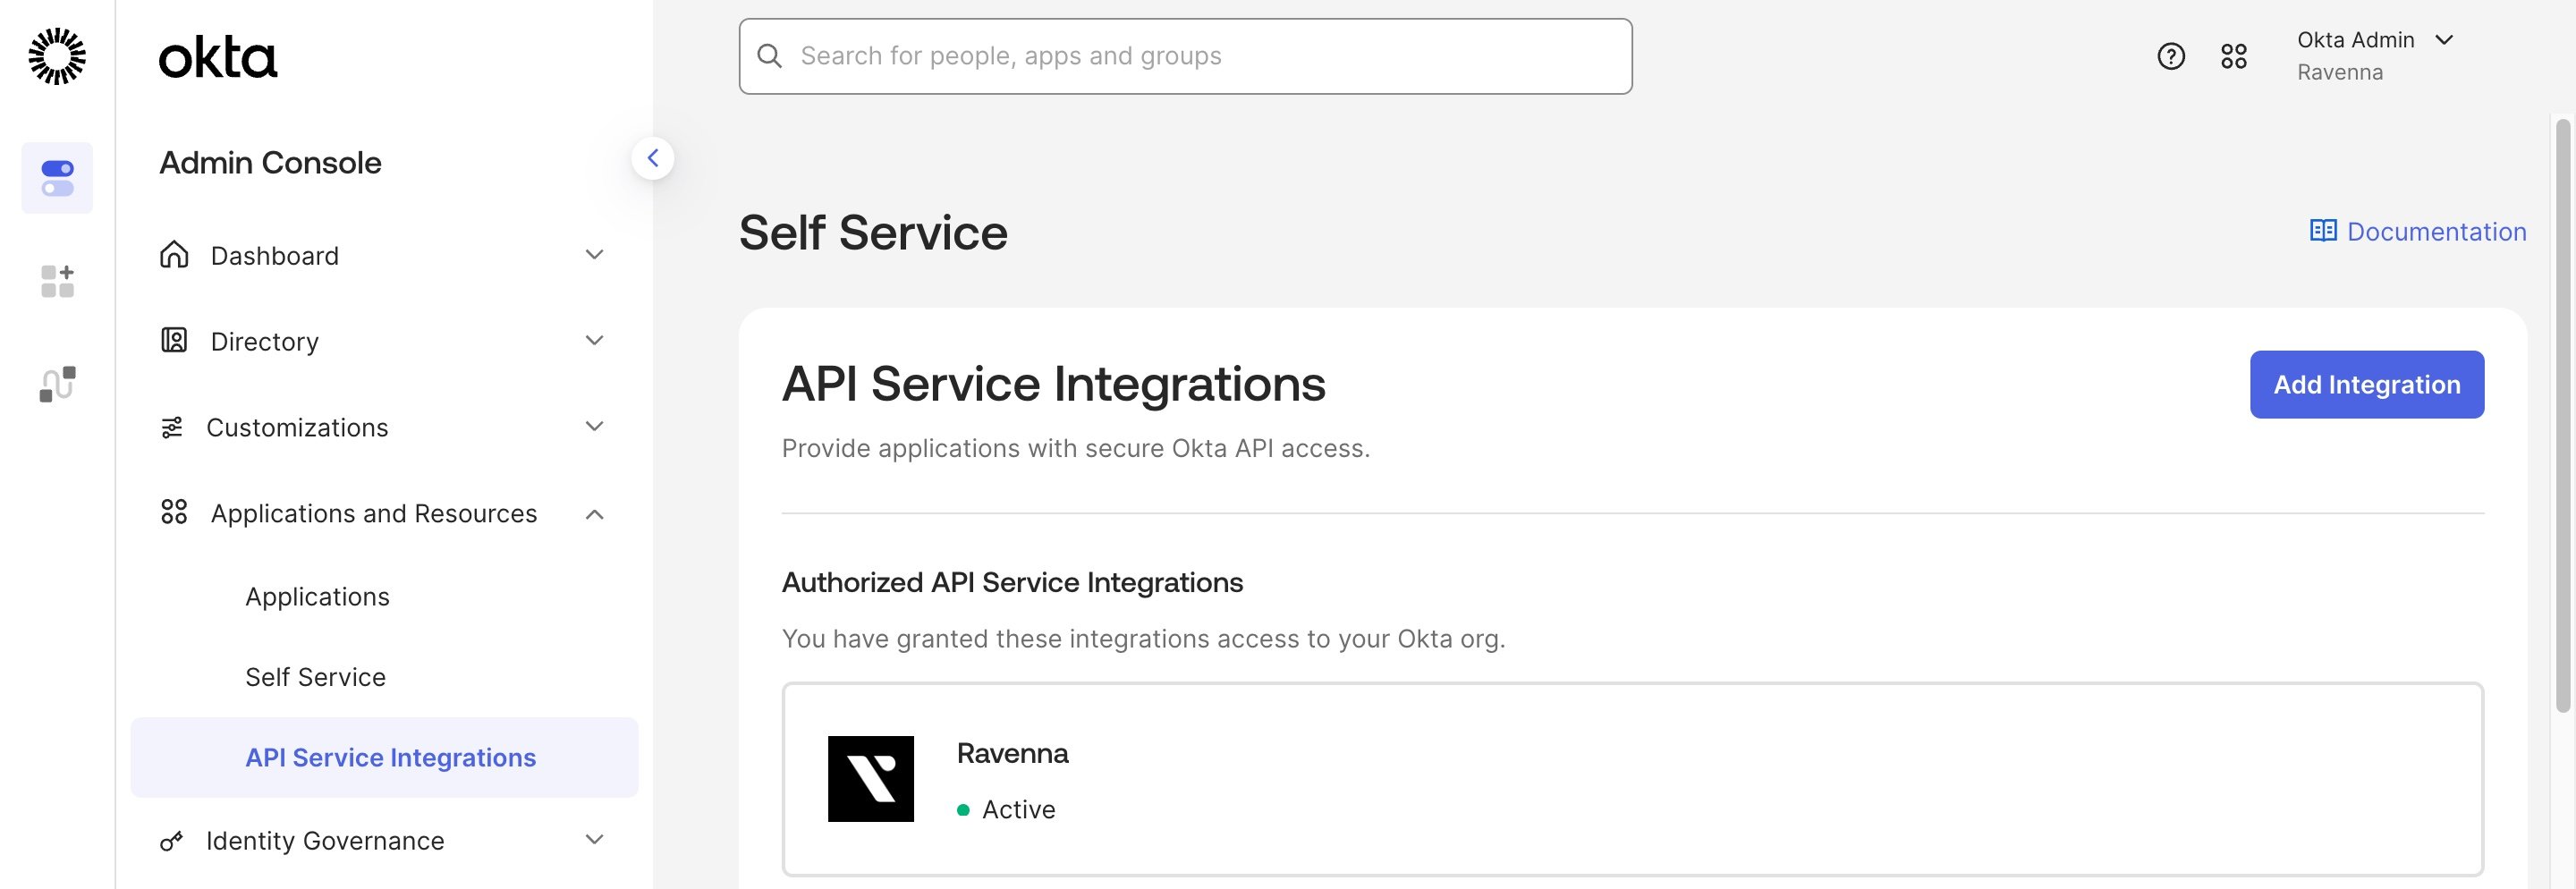
2
Select Ravenna
Integrations are listed alphabetically. Scroll to Ravenna, select it, and click Next.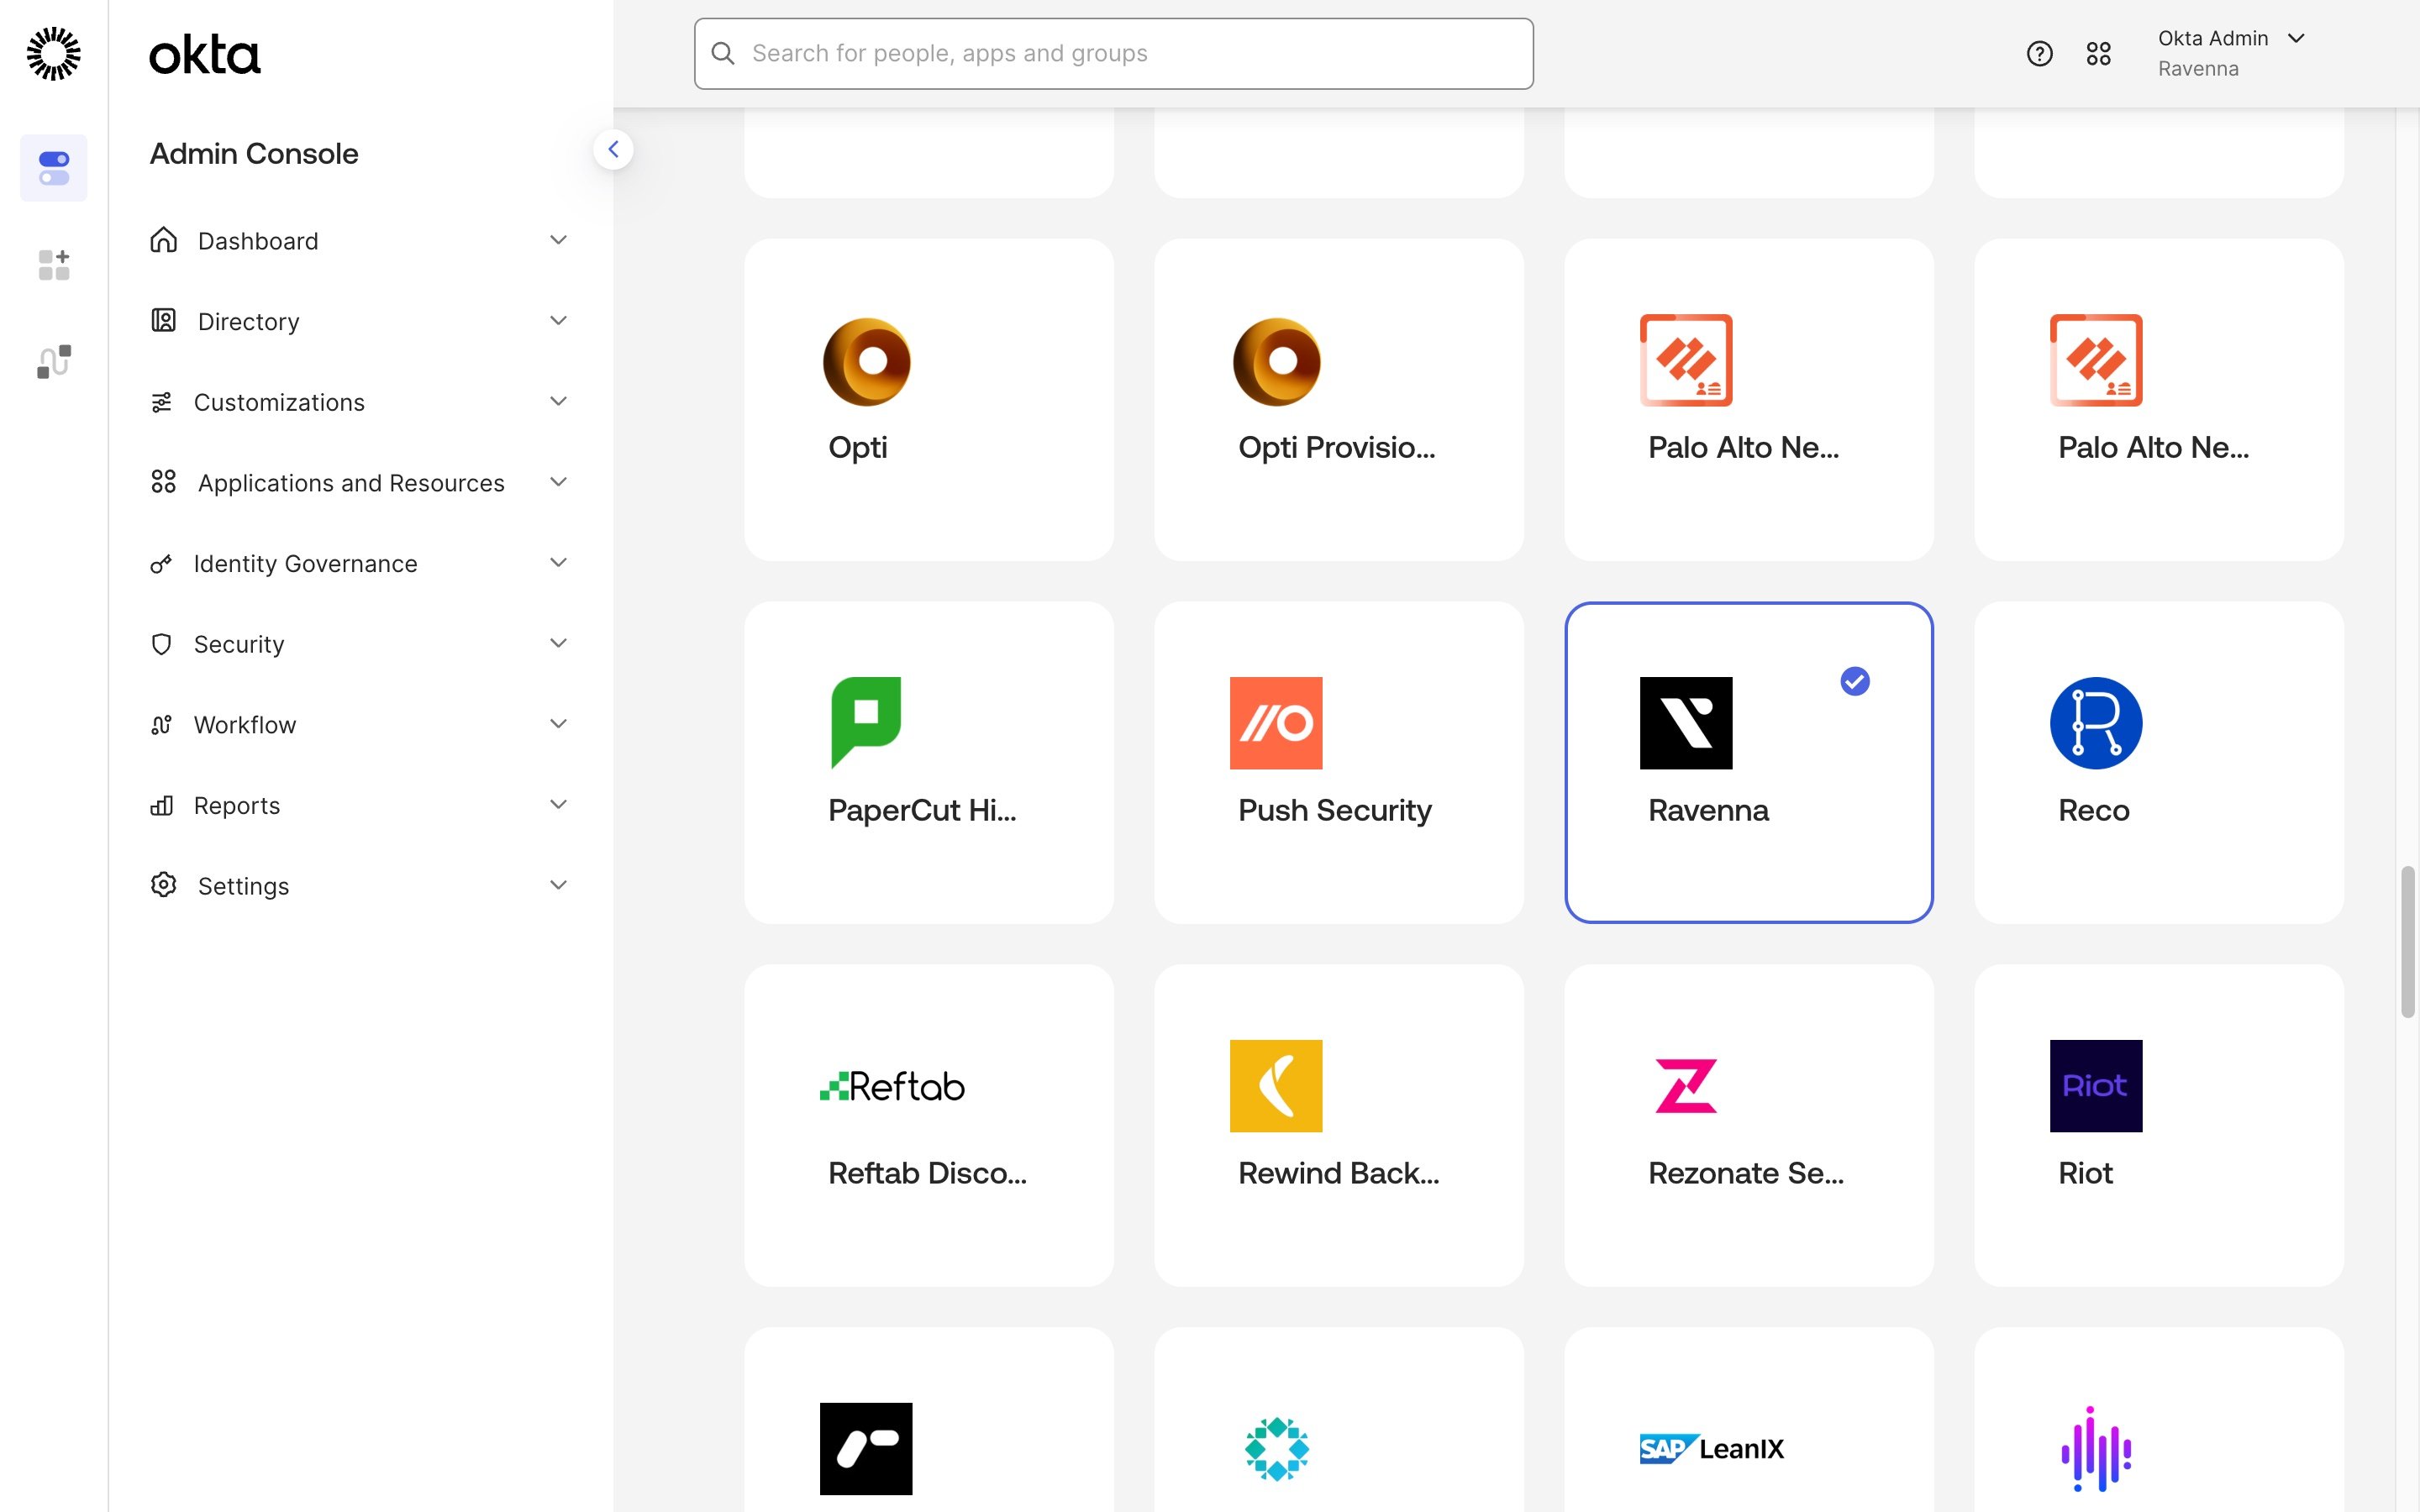
3
Install and authorize
Review the permissions Ravenna requests and click Install & Authorize.The integration’s API scopes are defined by Ravenna and granted automatically on install. See what Ravenna can access.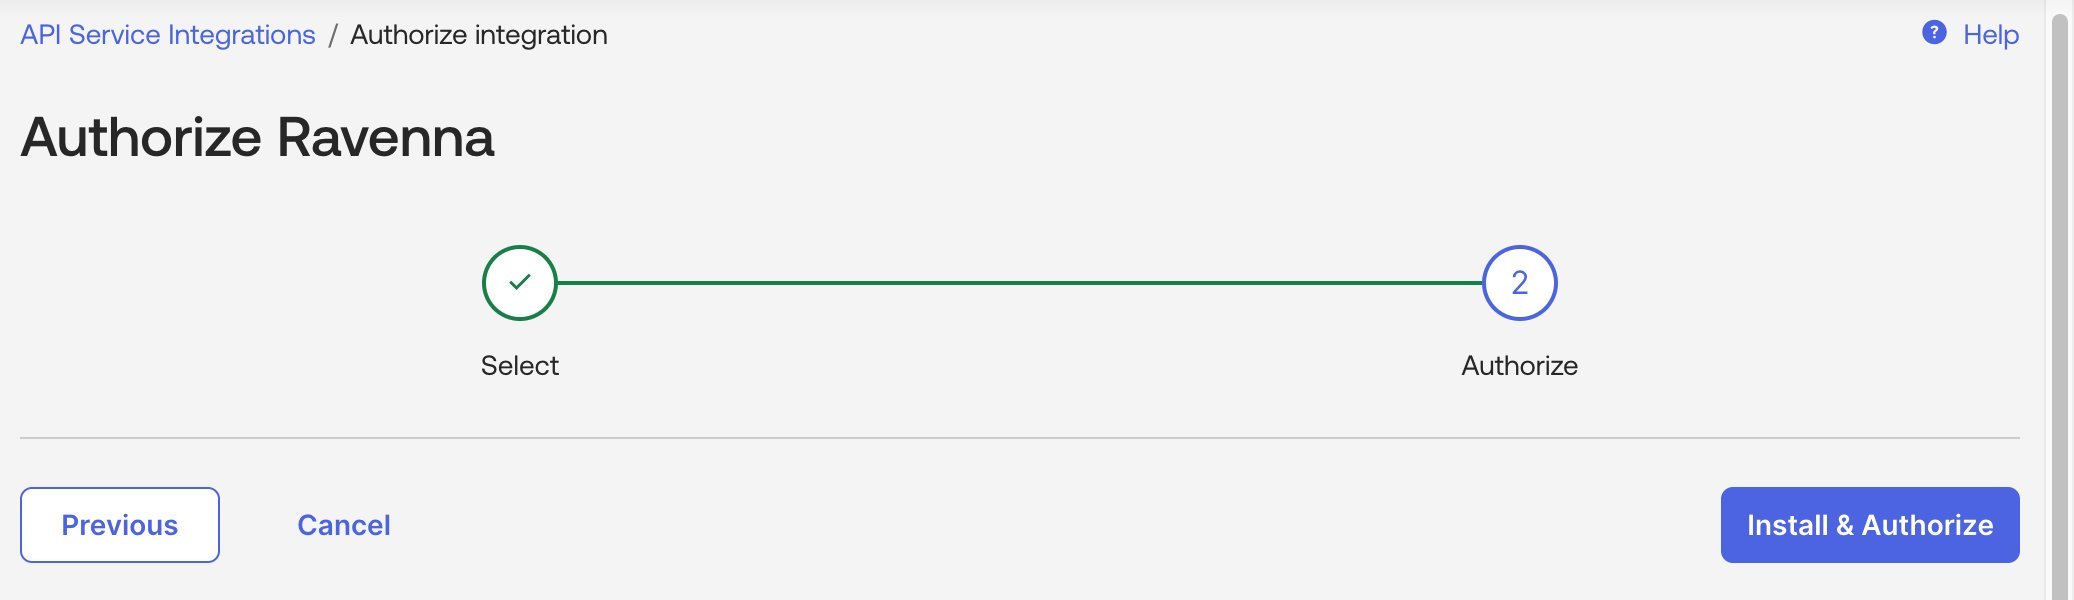
4
Copy the client secret
Okta shows the client secret once, right after the install. Click Copy to clipboard, store the secret somewhere secure, then click Done.
5
Copy the domain and client ID
On the app’s General tab, copy the Okta Domain and Client ID from the Client Credentials section.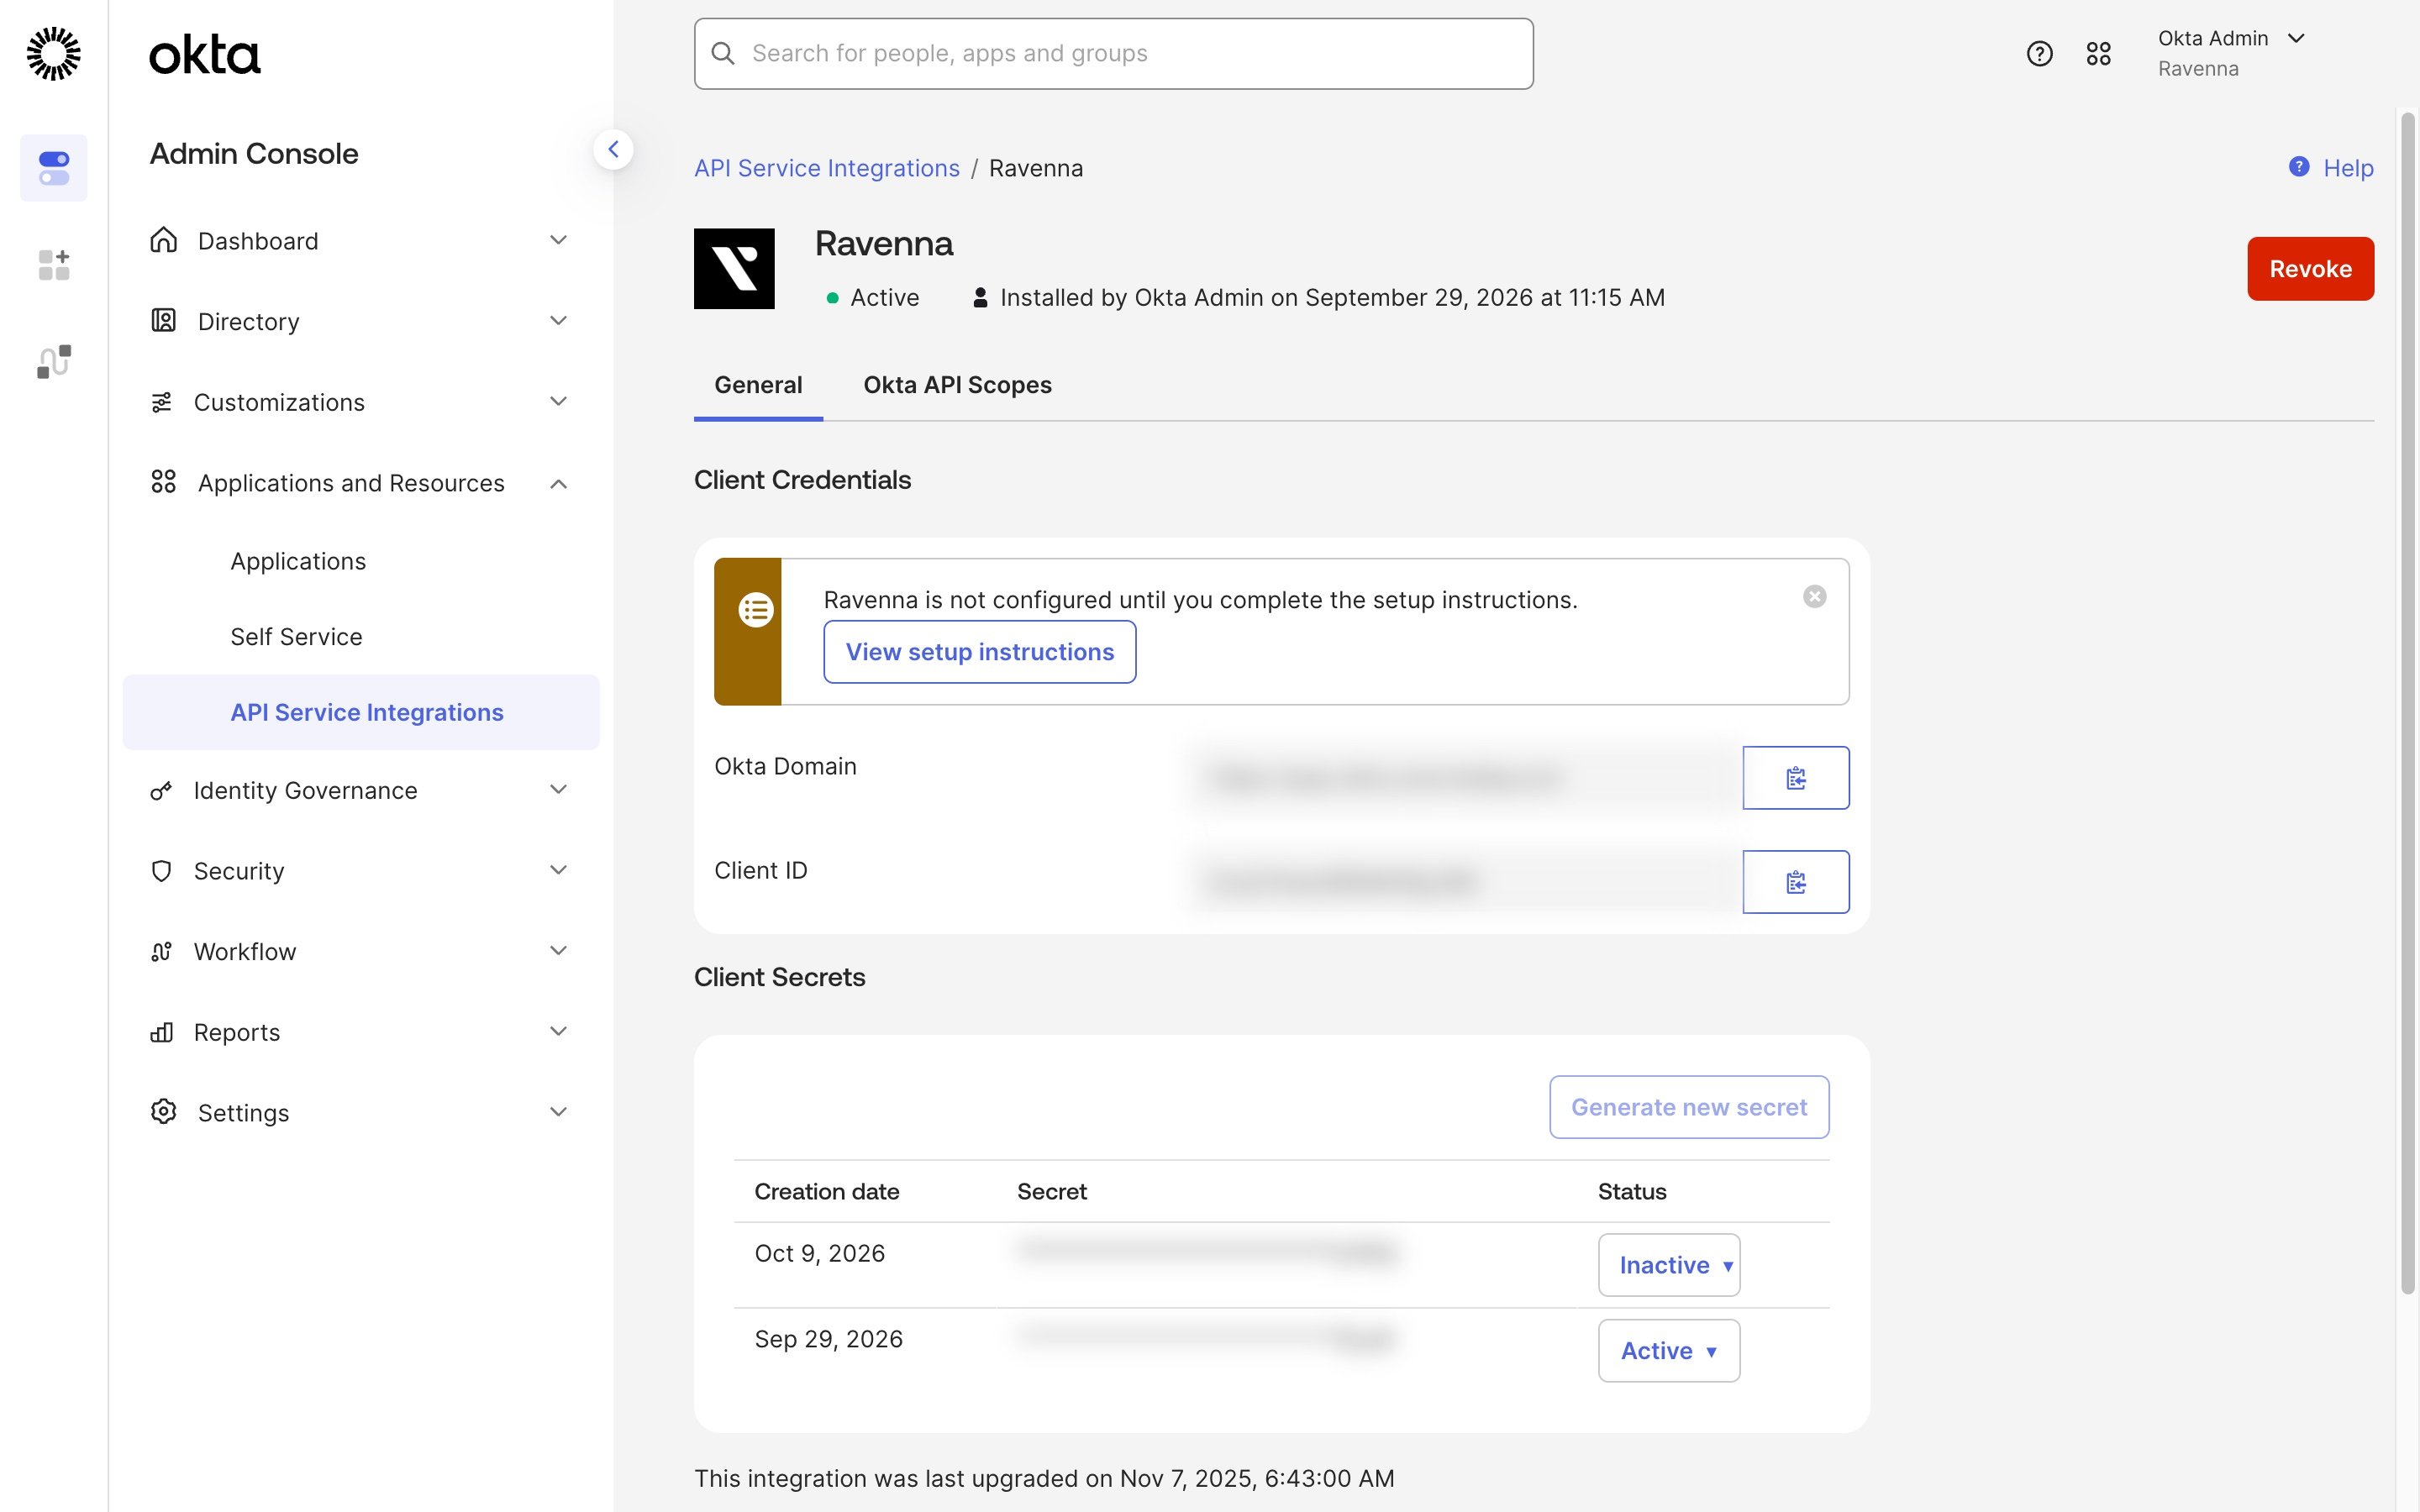
Add integration
1
Find Okta
In Ravenna, go to Settings > Integrations, search for “Okta”, and click Connect.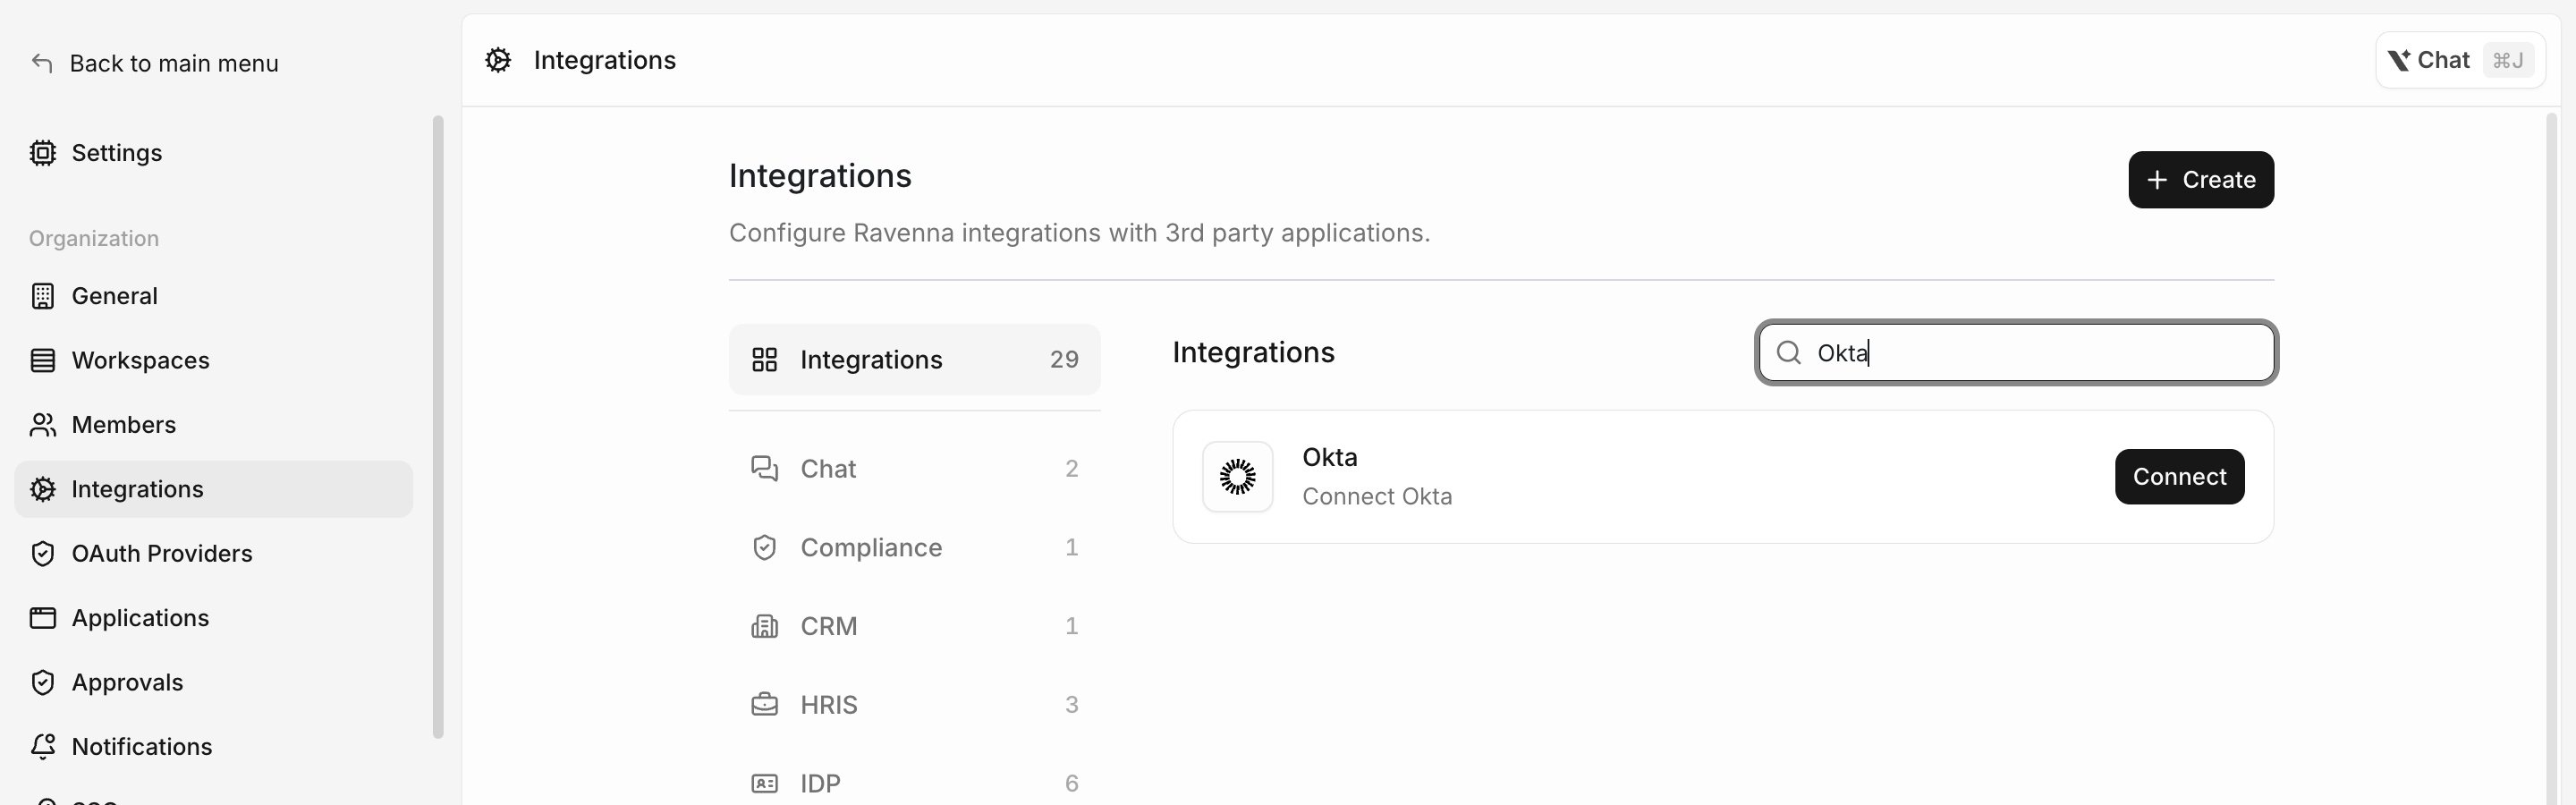
2
Choose Client Secret Authentication
In Connect Okta to Ravenna, open the Authentication method menu and choose Client Secret Authentication.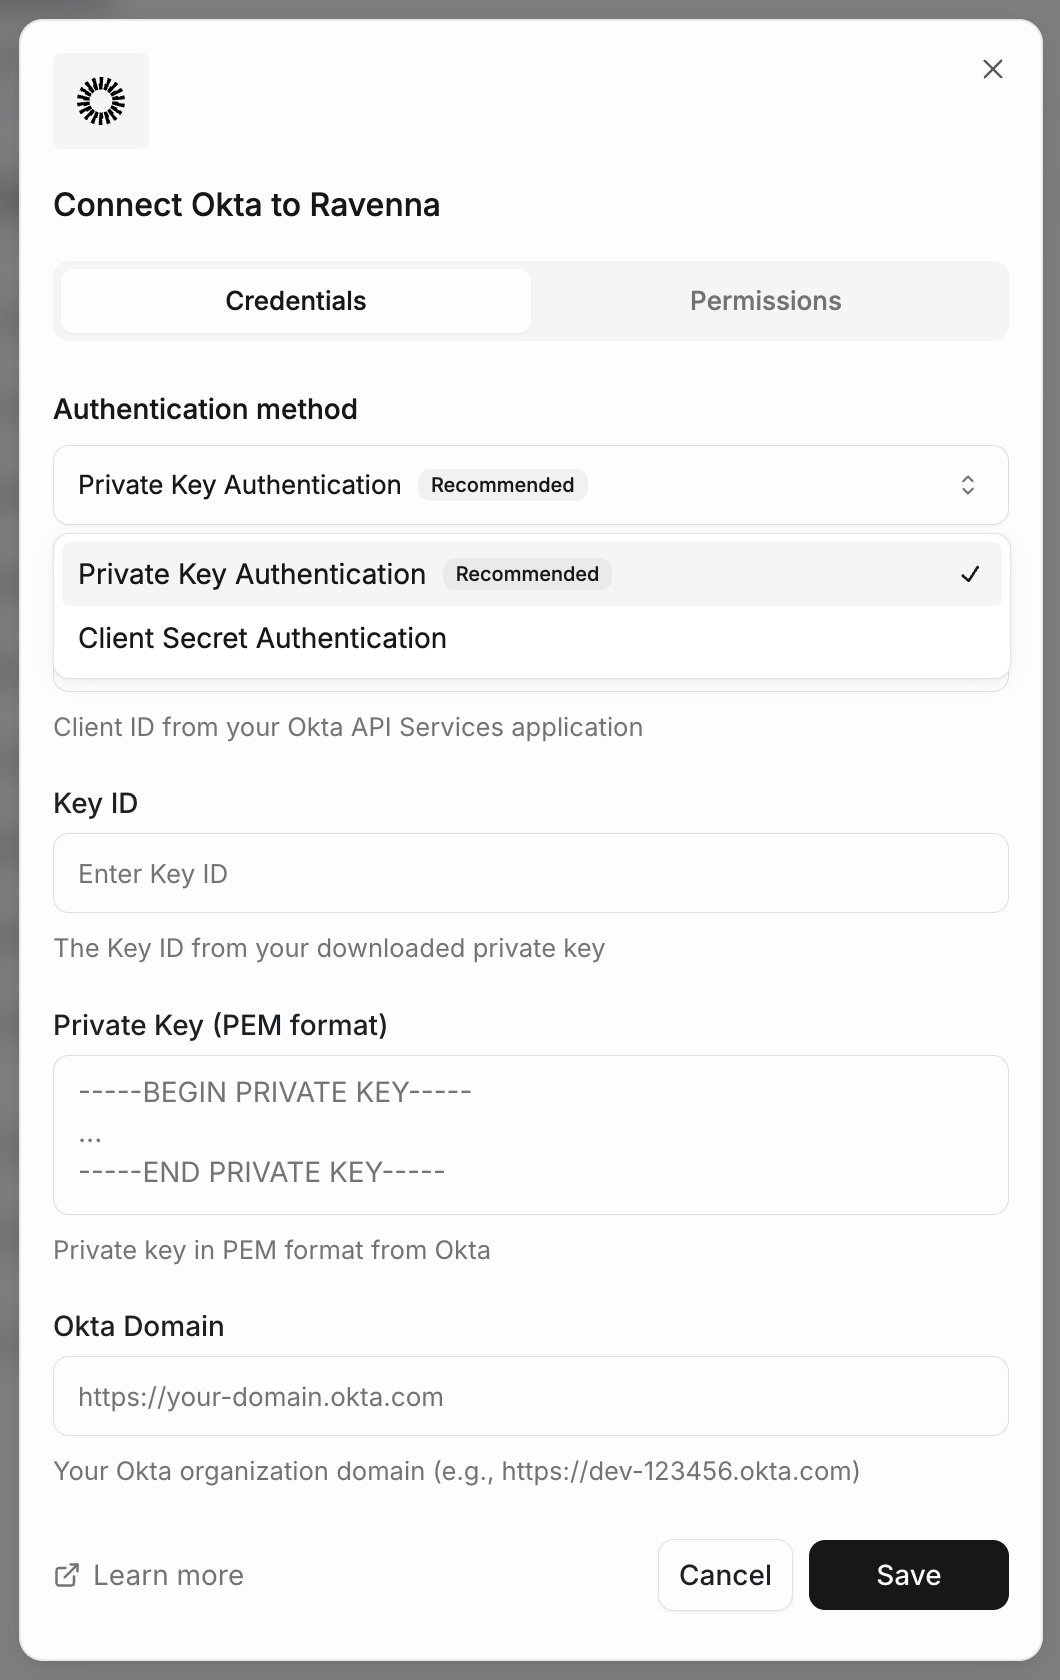
3
Enter your Okta details
Fill in the values you copied from Okta: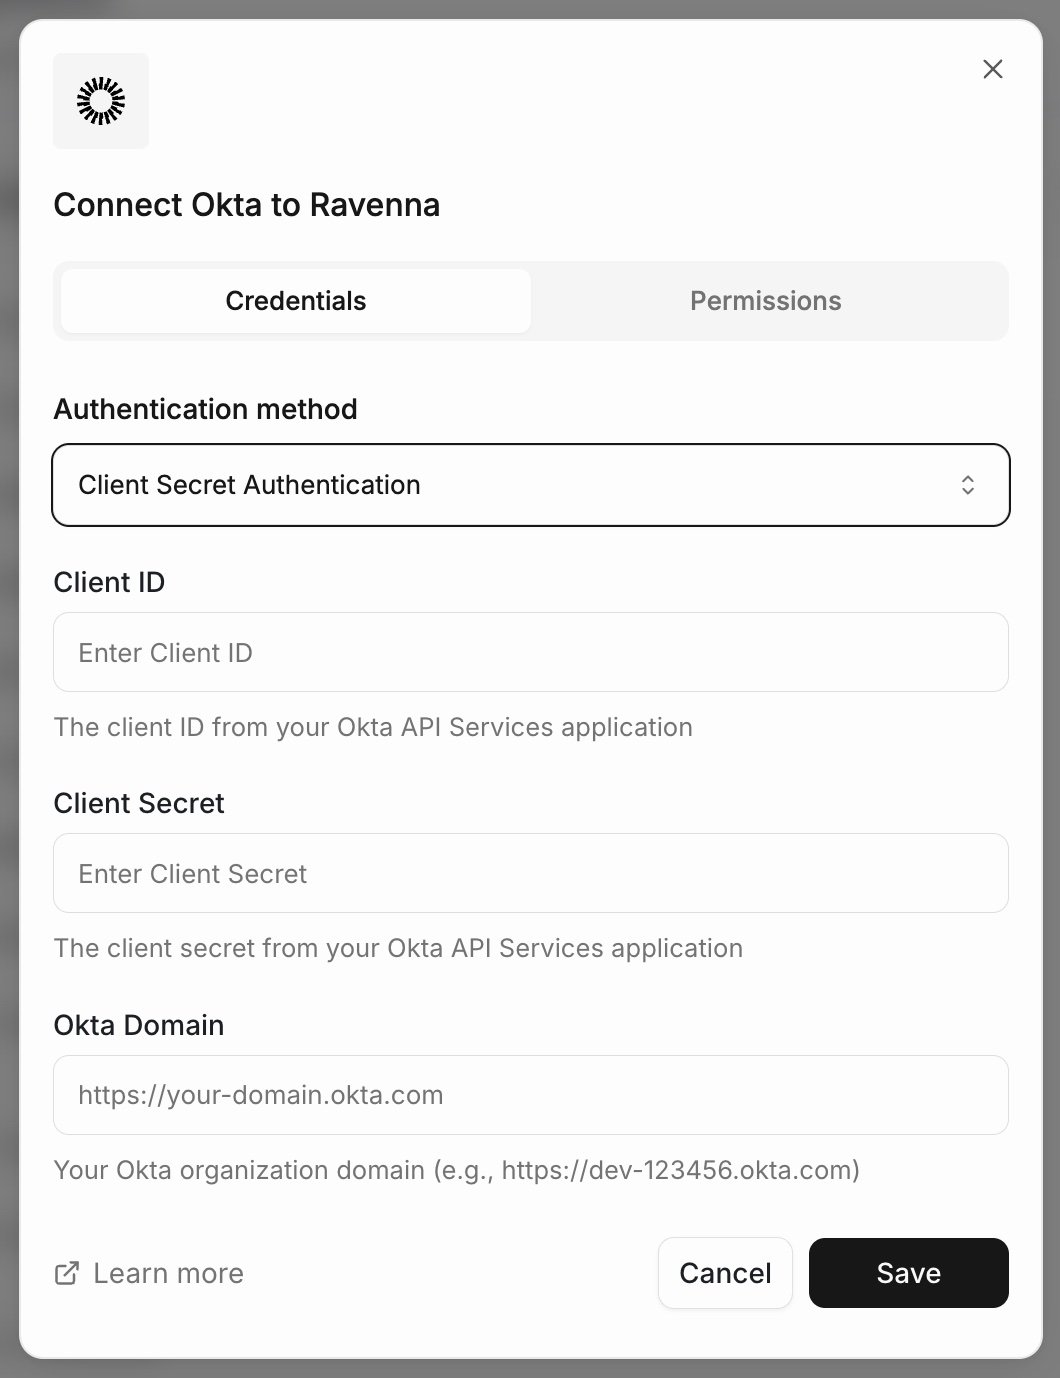
- Client ID: the Client ID from the Ravenna app in Okta
- Client Secret: the client secret you copied after installing
- Okta Domain: your Okta domain, such as
https://your-org.okta.com
Troubleshooting
Invalid credentials error
Invalid credentials error
Cause: Client ID or Client Secret is incorrectSolution:
- Verify the Client ID and Client Secret are copied correctly
- Ensure there are no extra spaces or characters
- Check that the integration still exists in Okta
- Try creating a new integration if credentials are lost
Every Okta call fails with invalid_client or a 401
Every Okta call fails with invalid_client or a 401
Cause: The credentials came from an app you created yourself under Applications and Resources > Applications > Add application > Create custom app, rather than from the Ravenna app in Applications and Resources > API Service Integrations. Okta accepts a client secret only for apps installed from its catalog. A self-created API Services app has to authenticate with a private key, so its secret is rejected on every request no matter which scopes you granted.Solution:
- Install the Ravenna app from Applications and Resources > API Service Integrations and use the Client ID and Client Secret it generates, or
- Keep your own app and switch to Private key setup, which also lets you control the granted scopes
Missing scopes or partial sync
Missing scopes or partial sync
Cause: Ravenna defines the OIN app’s scopes, so you can’t add or remove them on a Client Secret integration. A resource the app has no scope for can’t be read.Behavior: Ravenna doesn’t block integration setup when some scopes are missing. The integration is created with the scopes the app has, and any resource Ravenna can’t read (users, groups, or applications) syncs as empty.Solution:
- Check which scopes the app has on the Ravenna app’s Okta API Scopes tab, under Applications and Resources > API Service Integrations in the Okta Admin Console. Ravenna does not display granted scopes.
- Check that the integration has Application Administrator role
- Ensure Group Administrator role is assigned
- For password and MFA reset, assign
Help Desk AdministratororSuper Administrator - To choose your own scopes, switch to Private key setup. Complete the Okta-side setup there, then in Ravenna open the ⋯ menu on the Okta integration, choose Update Credentials, and pick Private Key. You don’t need to disconnect, and the integration keeps the same ID.
- After switching, trigger a resync from the integration page so the newly readable resources sync
Password or MFA reset fails with a permission error (403)
Password or MFA reset fails with a permission error (403)
Cause: Okta enforces credential reset through admin roles, separately from API scopes, so the integration can have every scope and still be blocked.
Application Administrator and Group Administrator cannot reset credentials.Solution:- Assign
Help Desk AdministratororSuper Administratorto the integration - Retry the action; no resync or reconnect is needed
Domain not found error
Domain not found error
Cause: Incorrect Okta domainSolution:
- Verify the domain matches your Okta organization (e.g.,
https://your-org.okta.com) - Ensure the domain is active and accessible
- Check for typos in the domain name
Features
Once connected, you can use Okta actions in workflows:Okta Actions
Manage user group memberships, assign applications, and check group membership for access management