> ## Documentation Index
> Fetch the complete documentation index at: https://docs.ravenna.ai/llms.txt
> Use this file to discover all available pages before exploring further.
# Set up task templates
> Build reusable task templates in Ravenna so multi-step tickets like onboarding, offboarding, and incident response follow the same checklist every time.
export const ArcadeEmbed = ({code, title = 'Demo', aspect = 56.25}) => {
const arcadeIframeRef = useRef(null);
useEffect(() => {
function onArcadeIframeMessage(e) {
if (e.origin !== 'https://demo.arcade.software' || !e.isTrusted) return;
const arcadeIframe = arcadeIframeRef.current;
if (!arcadeIframe || !arcadeIframe.contentWindow) return;
if (e.data.event === 'arcade-init') {
arcadeIframe.contentWindow.postMessage({
event: 'register-popout-handler'
}, '*');
}
if (e.data.event === 'arcade-popout-open') {
arcadeIframe.style['position'] = 'fixed';
arcadeIframe.style['z-index'] = '9999999';
}
if (e.data.event === 'arcade-popout-close') {
arcadeIframe.style['position'] = 'absolute';
arcadeIframe.style['z-index'] = 'auto';
}
}
window.addEventListener('message', onArcadeIframeMessage);
const arcadeIframe = arcadeIframeRef.current;
if (arcadeIframe && arcadeIframe.contentWindow) {
arcadeIframe.contentWindow.postMessage({
event: 'register-popout-handler'
}, '*');
}
return () => {
if (arcadeIframe && arcadeIframe.contentWindow) {
arcadeIframe.contentWindow.postMessage({
event: 'unregister-popout-handler'
}, '*');
}
window.removeEventListener('message', onArcadeIframeMessage);
};
}, []);
const embedUrl = `https://demo.arcade.software/${code}?embed&embed_mobile=tab&embed_desktop=inline`;
return
;
};
Tasks break a ticket into a checklist your team can assign and track. A task template makes that checklist reusable, so onboarding a new hire produces the same eleven steps every time instead of whatever the person on shift remembers.
**Time:** about 15 minutes for your first template.
Go to **Settings** > **Task Templates** in your workspace.
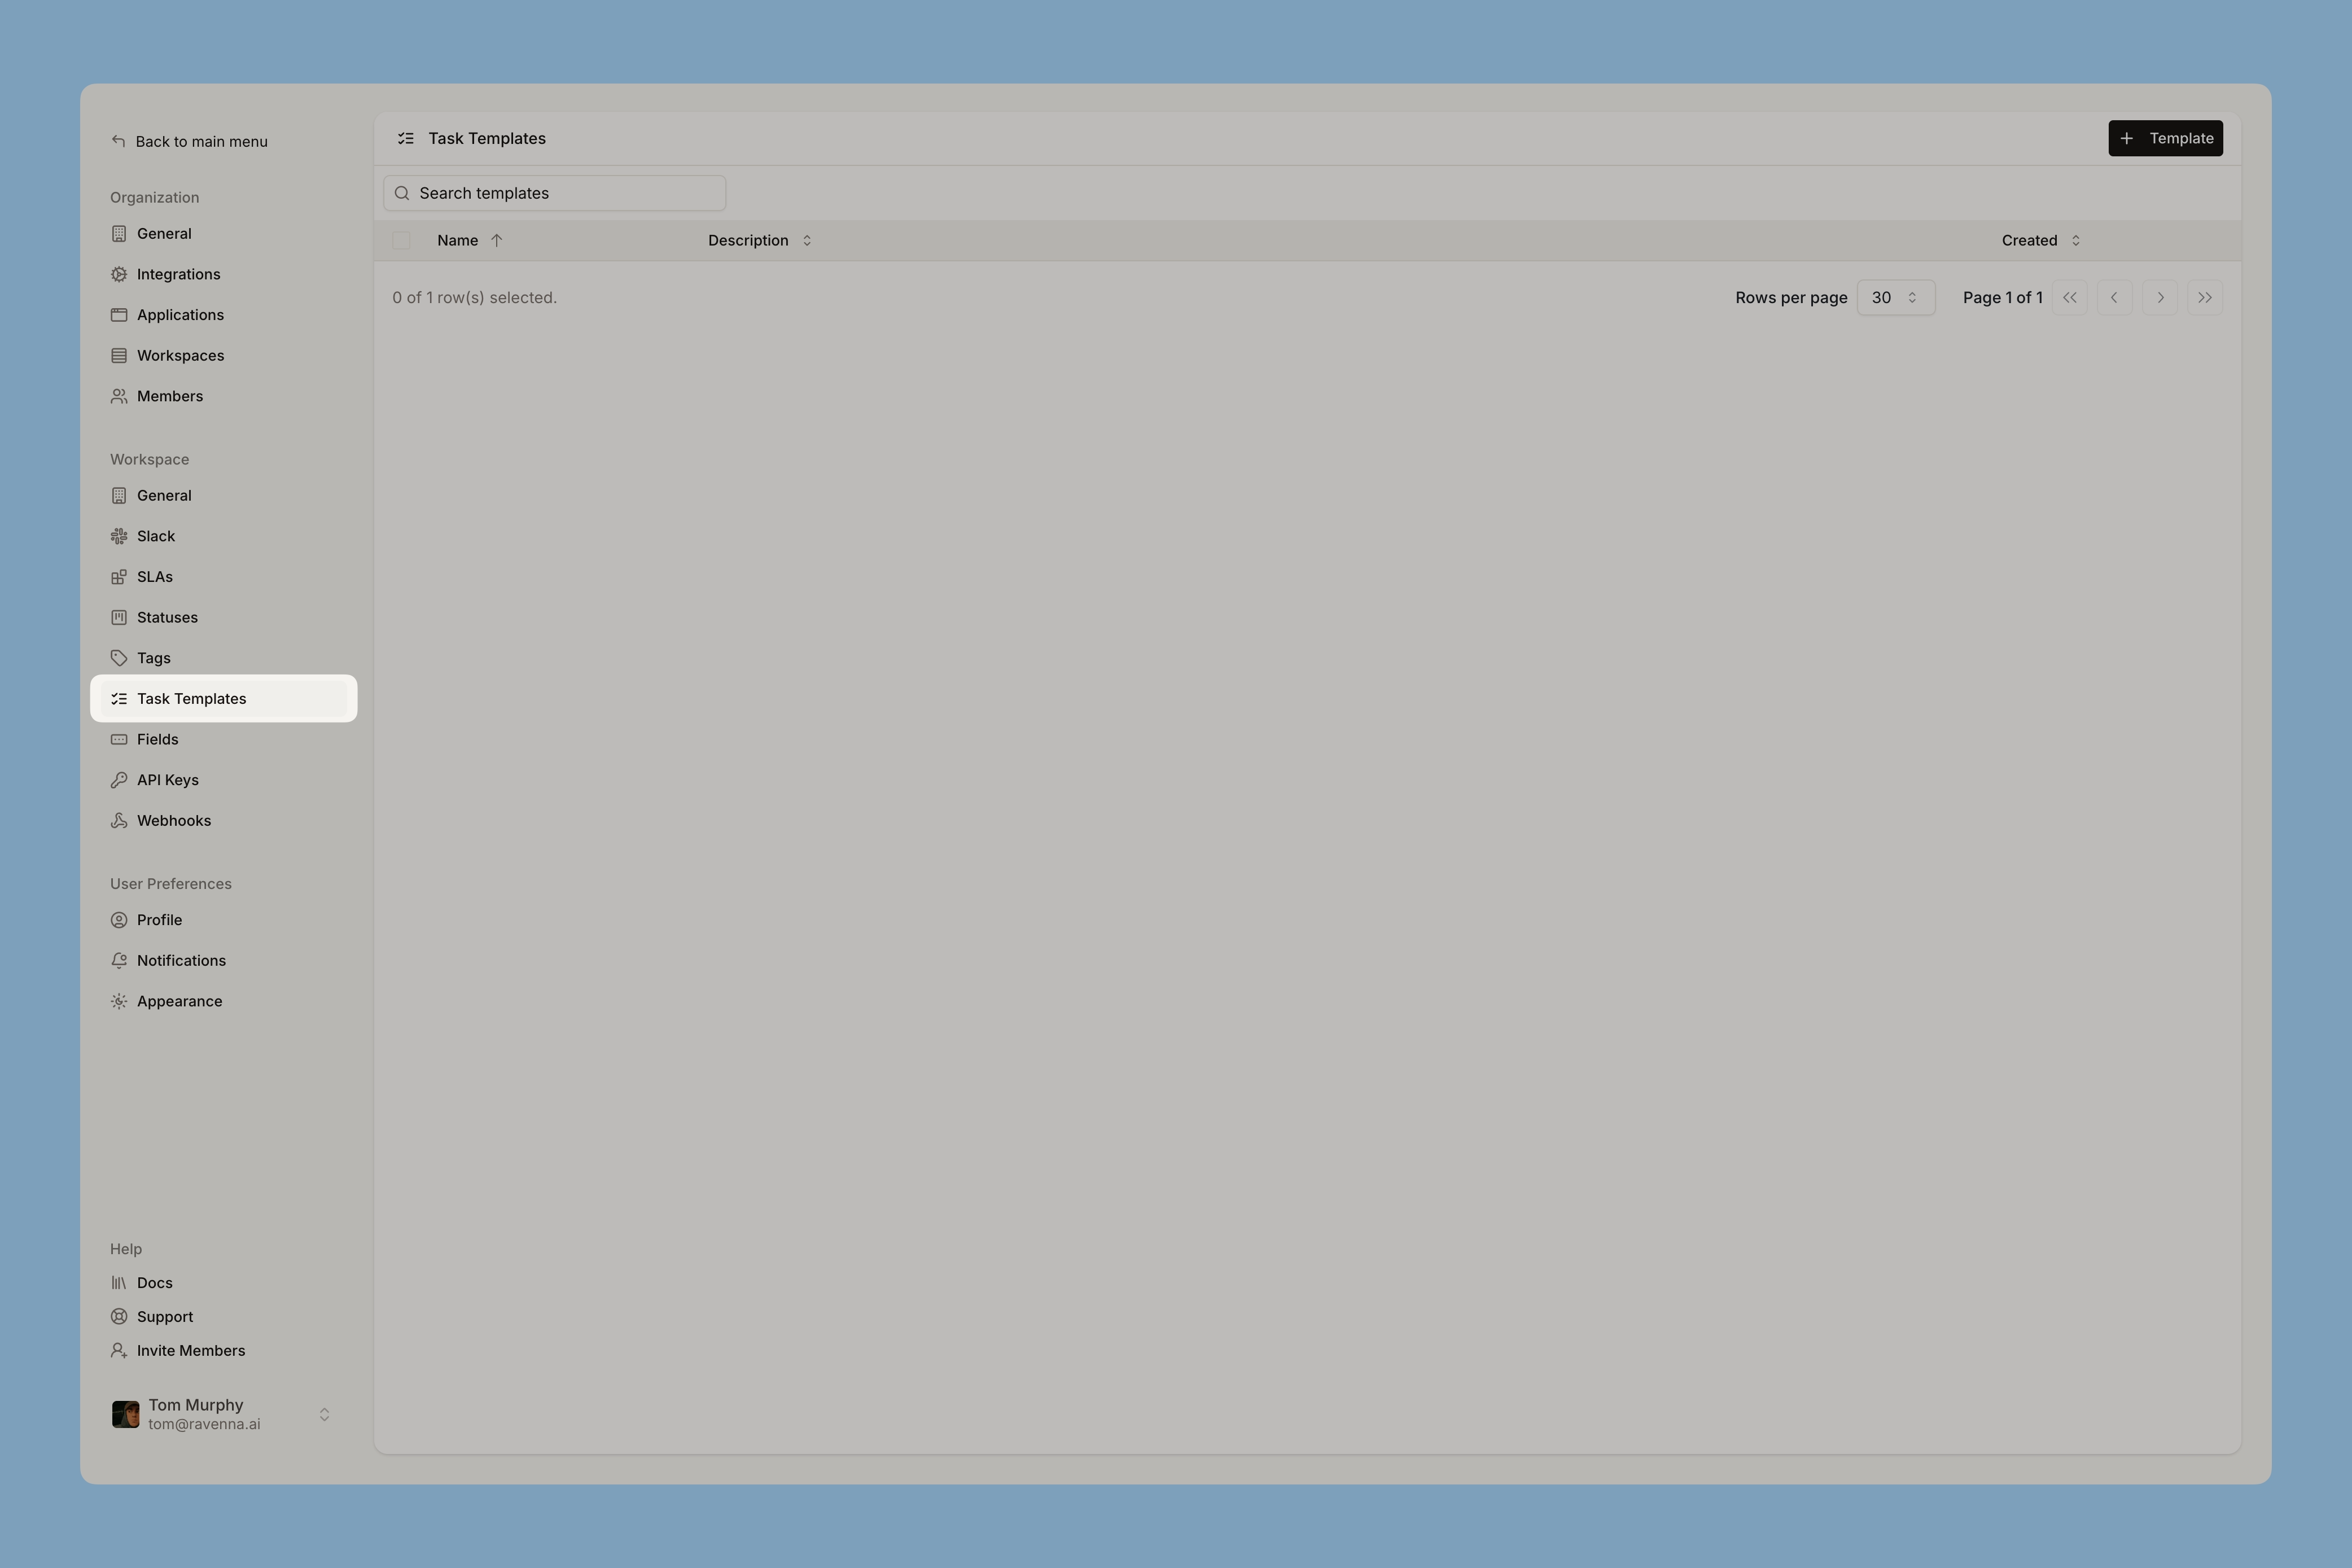
Click **+ Template** in the top right.
* **Icon and color** to identify the template at a glance
* **Name** describing the process, such as "New hire onboarding"
* **Description** saying when to use it
Save, then open the template and add the tasks it should create.
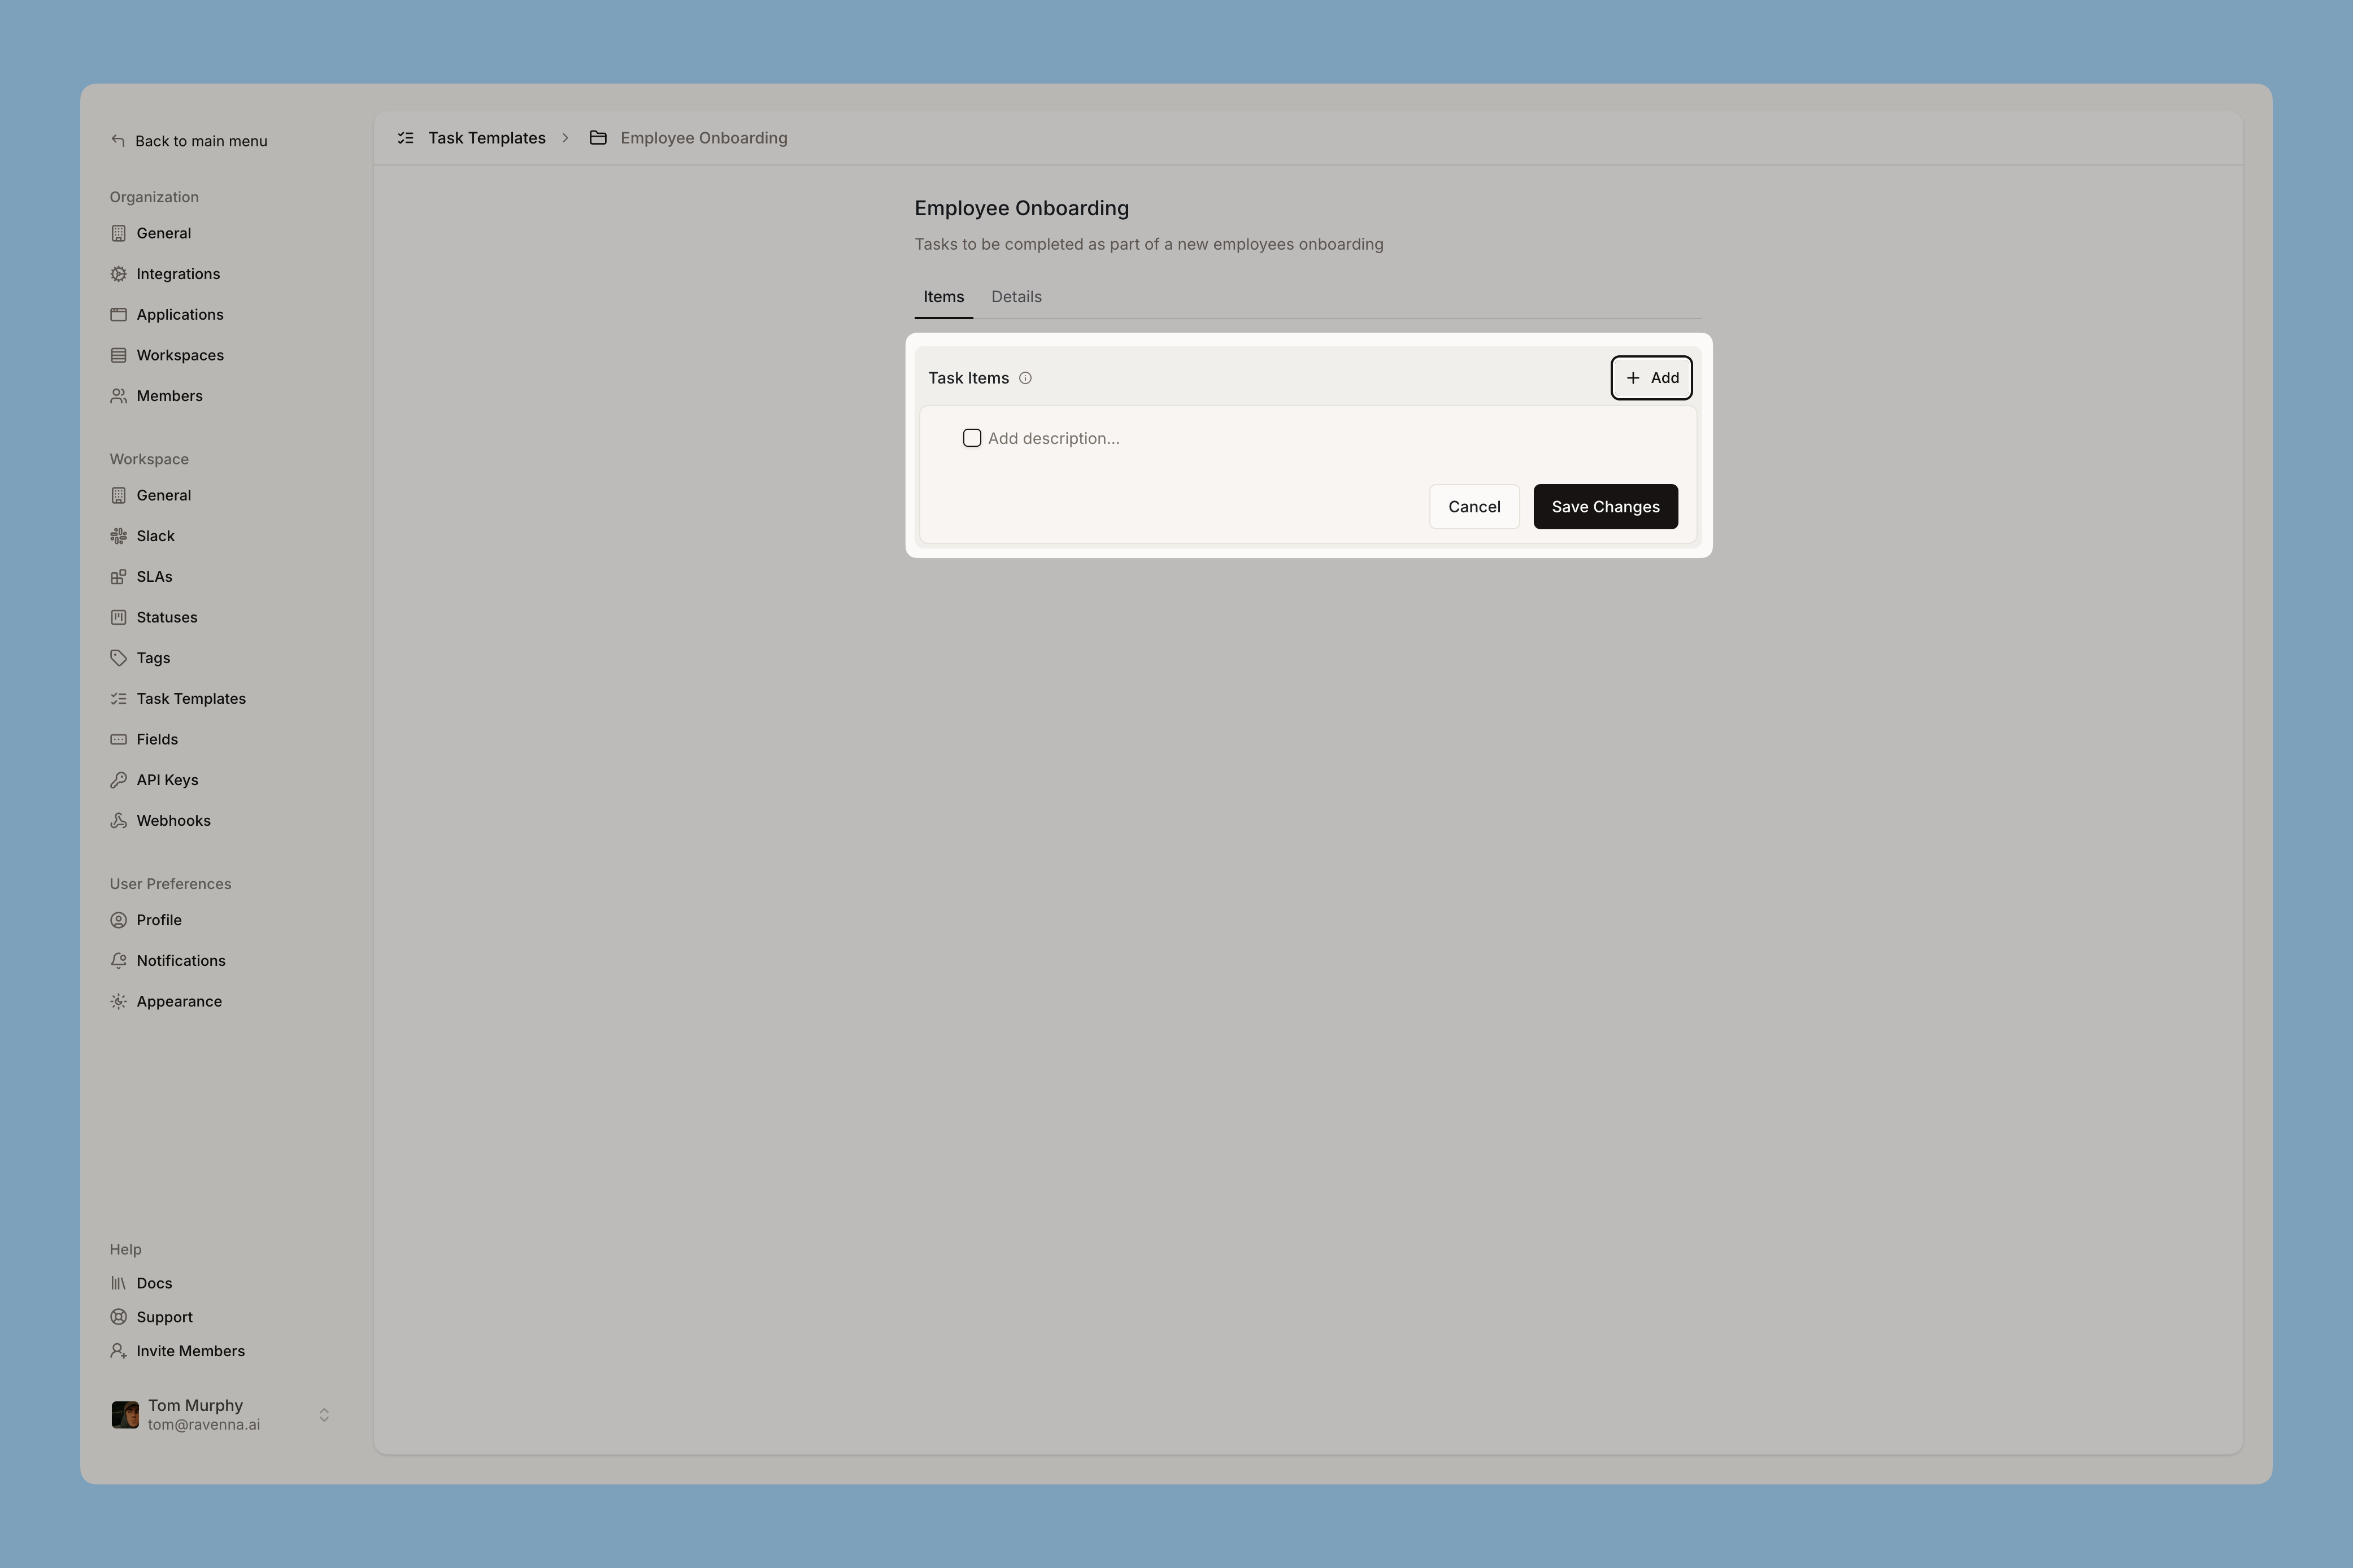
Name, description, and icon are editable inline from the template header and save as you type.
Write each task as an action with an owner in mind: "Create Okta account", not "Okta". Tasks have no due dates or priorities of their own, so the wording is the only instruction the assignee gets.
Open a ticket, scroll to **Tasks**, click **Import**, and pick your template.
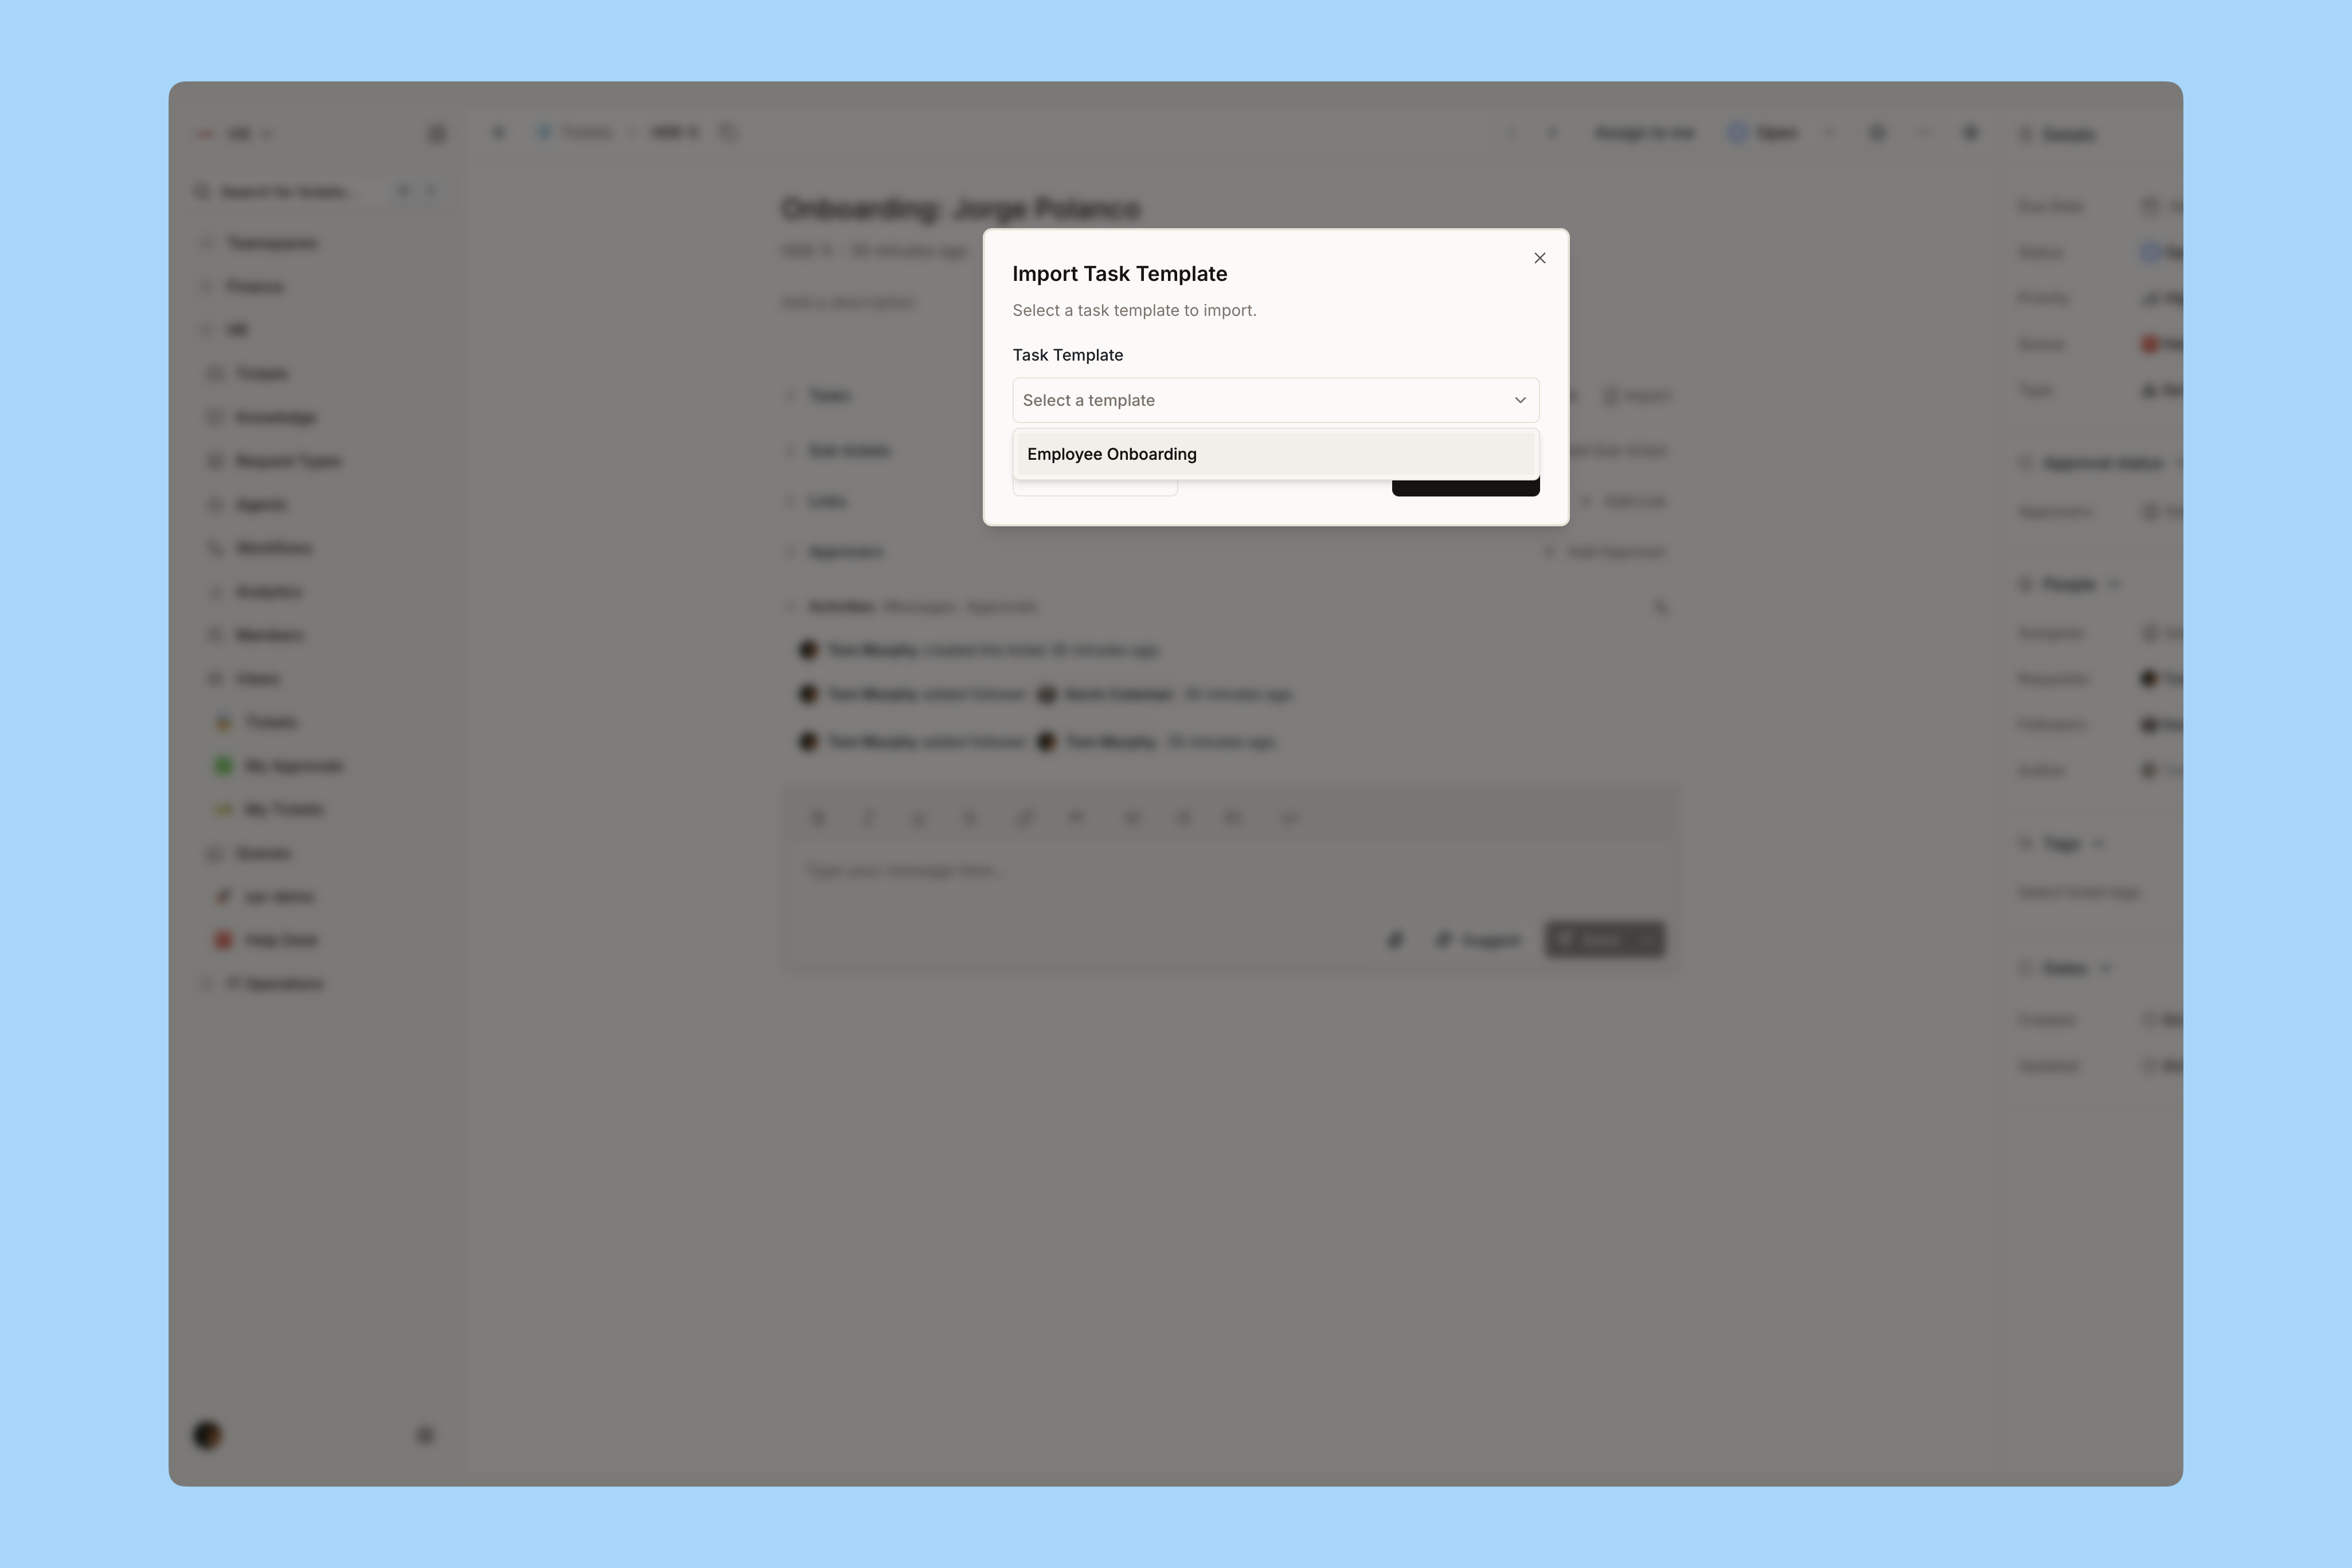
Importing replaces every existing task on the ticket and cannot be undone. To clear only the tasks that came from a template while keeping manually added ones, use **Remove Template** in the Tasks section header instead.
## Adding tasks without a template
Any ticket can carry ad hoc tasks. Open the **Tasks** section, click **Add Task**, and enter a description.
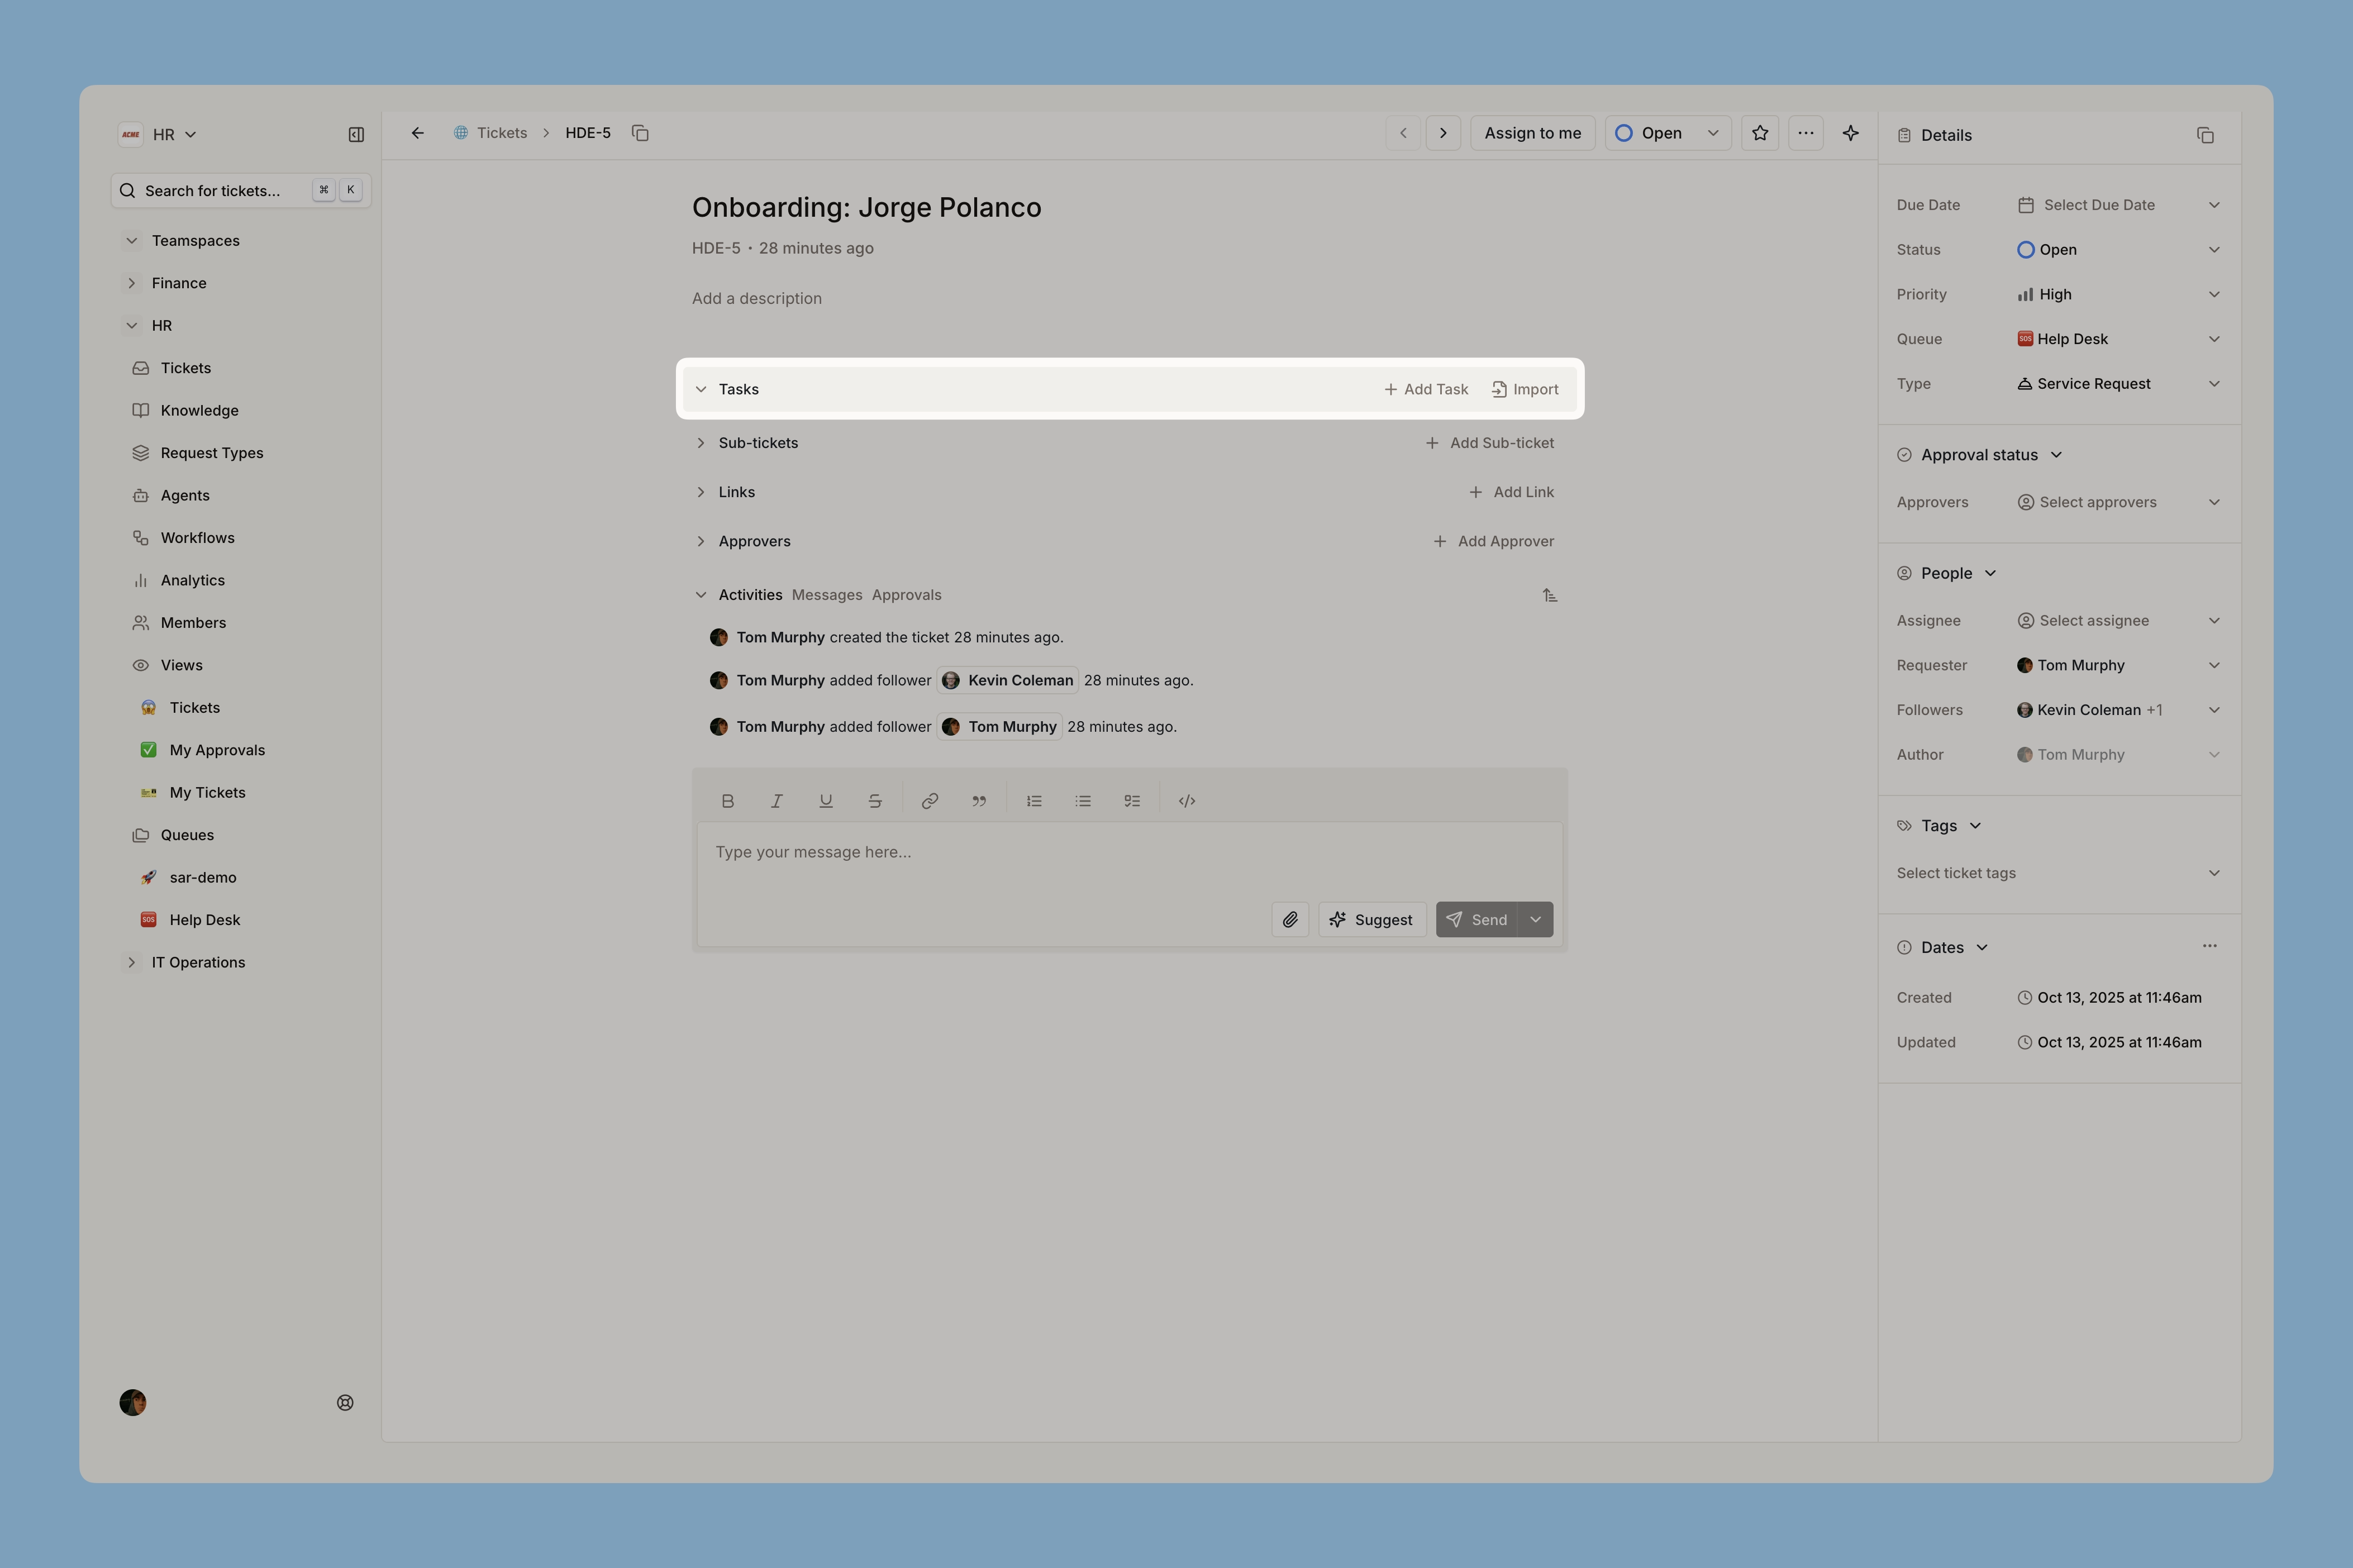
* Assigning someone to a task makes them a follower on the ticket. This cannot be turned off, and it is usually what you want.
* Click **+** on a task to nest subtasks, up to three levels deep.
* Tasks display in creation order and cannot be reordered afterwards, so add them in the order they should happen.

## When a step gets skipped
Cancel the task rather than deleting it. Cancelling keeps the row on the ticket in a cancelled state, so the record still shows the step was considered and dropped. Hover the task, open the row action menu, and choose **Cancel task**. **Restore task** puts it back.
Cancelled tasks are frozen: description, assignees, and the checkbox are locked until restored. Completed tasks cannot be cancelled directly, so reopen first.
If your workspace's **Close ticket task policy** is set to cancel remaining tasks, moving a ticket to Done or Closed prompts you to cancel everything still open in one go. The default leaves tasks open.
Learn more about [tasks and subtasks](/documentation/tickets/tasks) and the [close ticket task policy](/documentation/platform/workspaces/settings#close-ticket-task-policy)
## Letting Copilot and agents work the checklist
Tasks are available to automation, which is what makes templates worth building:
* Ask Copilot to apply a template, add a step, reassign one, or tell you what is still open. Try it on a real onboarding ticket.
Apply the New hire onboarding template to this ticket and assign the
hardware steps to me.
What onboarding tasks are still open across my tickets this week?
* Agents can read a ticket's full checklist without a separate lookup, create and update tasks, complete or reopen several at once, and apply a template.
* Workflow actions can create and complete tasks, which is how onboarding runs itself. See [employee onboarding](/guides/playbooks/hr/employee-onboarding).
Two deliberate limits: task deletion is not exposed to automation, and cancelling or restoring is a UI action only.
Learn more about [tasks in automation](/documentation/tickets/tasks#tasks-in-automation)
## Related topics
- [Tasks](/documentation/tickets/tasks.md)
- [Employee onboarding](/guides/playbooks/hr/employee-onboarding.md)
- [Everyday tasks](/documentation/automate/copilot/everyday-tasks.md)
- [Workspace settings](/documentation/platform/workspaces/settings.md)
- [Available tools](/documentation/automate/mcp/tools.md)